Campfire
You can now find a Campfire Integration panel on Solvimon Desk under Menu → Settings → Integrations → Campfire.
Getting Started
To set up an integration with Solvimon Desk and Campfire, you will need an active Campfire account.
Step 1 : Connect to your Campfire Account
Login to your Solvimon Desk and click on Connect to Campfire under Integrations.
Once you click on Connect to Campfire, you will see a pop-up like the one shown below
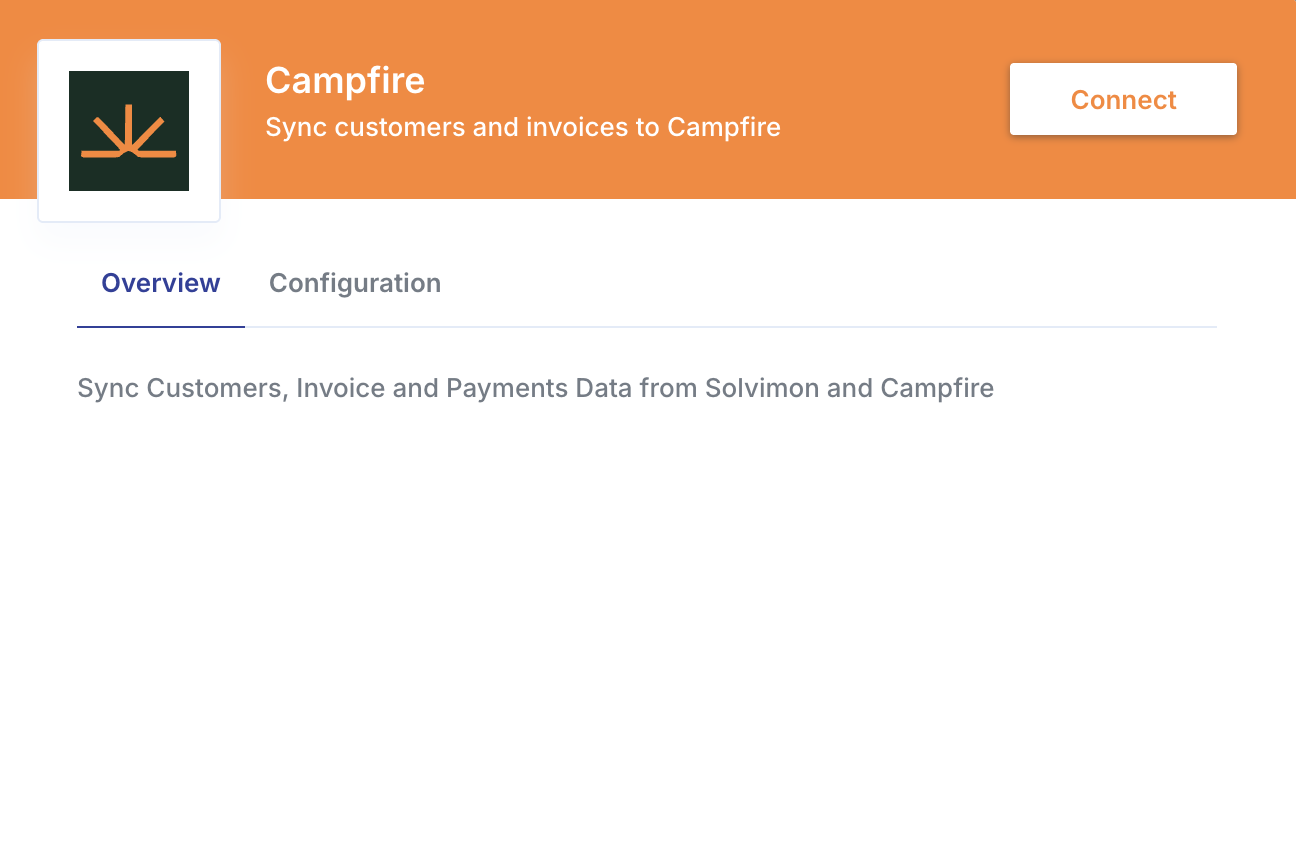
Once you click on Connect you’ll see a window opening up where you need to login with your Campfire Account credentials and grant Solvimon access.
Step 2 : Setup configurations and Enable Integration
Once authenticated, you can view the configurations tab to enable the workflows you’d like to enable in your Campfire Platform. Currently, the supported and out of the box workflows are listed under configuration but if you don’t see the one you’re looking for, you could reach out to your Customer Success Manager.
For the Sync Invoices workflow, you must provide a Revenue Campfire Item ID. This is the Campfire product item used to allocate revenue when pushing invoice lines.
Step 3 : Synchronise your data
Import Customers
You can manually trigger this workflow to import your Customers from Campfire to Solvimon to speed up your onboarding process.
Every Customer entity in Campfire is treated as a Customer in Solvimon.
A list of fields that is currently synced from Campfire
Import Billing Entities
You can manually trigger this workflow to import details of your billing entities (read more about billing entities here).
Every Entity in Campfire is treated as a Billing Entity in Solvimon.
You can add more than one Billing Entity to your platform on Solvimon. In order to be valid for invoicing in Solvimon every Billing Entity needs the following:
- Name
- Tax ID
- Address
- First Line
- Postal Code
- City
- Country (read more about supported locales and country code usage)
A list of fields that is currently synced from Campfire for Billing Entities
Import Products
You can manually trigger this workflow. Products configured on your Campfire account can be synced to Solvimon and will be created in the Products section in the settings menu under the category Campfire Products.
A list of fields that is currently synced from Campfire for Products
Export Invoices to Campfire
This workflow runs automatically. Whenever an invoice is finalised in Solvimon, it is pushed to Campfire without any manual action required. Each Product will be treated as a line item in the Campfire Invoice along with its usage, quantity, price and tax.
Campfire tags each synced invoice with the Solvimon invoice ID, making it traceable from either platform.
A list of fields that is currently synced to Campfire
For invoice_lines
Mark Invoices as Paid
This workflow runs automatically via webhook. When a payment is recorded in Campfire, Solvimon is notified and creates a corresponding payment record linked to the invoice, keeping payment status in sync across both platforms without any manual action required.
We Recommend the following steps
To gain the most value from the accounting integration, follow the below steps:
- Import your customers from Campfire to Solvimon
- Import billing entities and products
- Use Solvimon to create Draft Invoices
- Review and Edit invoices within Solvimon Desk as needed
- Finalise and send invoices to customers using Solvimon
- Invoices are automatically synced with Campfire for revenue recognition and general accounting purposes
Once the integration is in place there can be multiple ways to setup the synchronisation. Its by default trigger based for updating the list but custom triggers can also be handled and for such requirements you can reach out to your sales executive for further assistance.
You can now view your desired data on the Solvimon Desk and vice versa on your Campfire platform based on the integrations chosen.
🎉 You’re now all set and have enabled synchronisation!