To connect your Xero Account to Solvimon, go to the integration panel on Solvimon Desk under Menu → Settings → Integrations → Xero
To set up an integration with Solvimon Desk and Xero, you will need an active Xero account (for Sandbox environment, a Xero developer account)
Login to your Solvimon Desk and click on Connect to Xero under Integrations
Once you click on Connect to Xero, you will see a pop-up like the one shown below
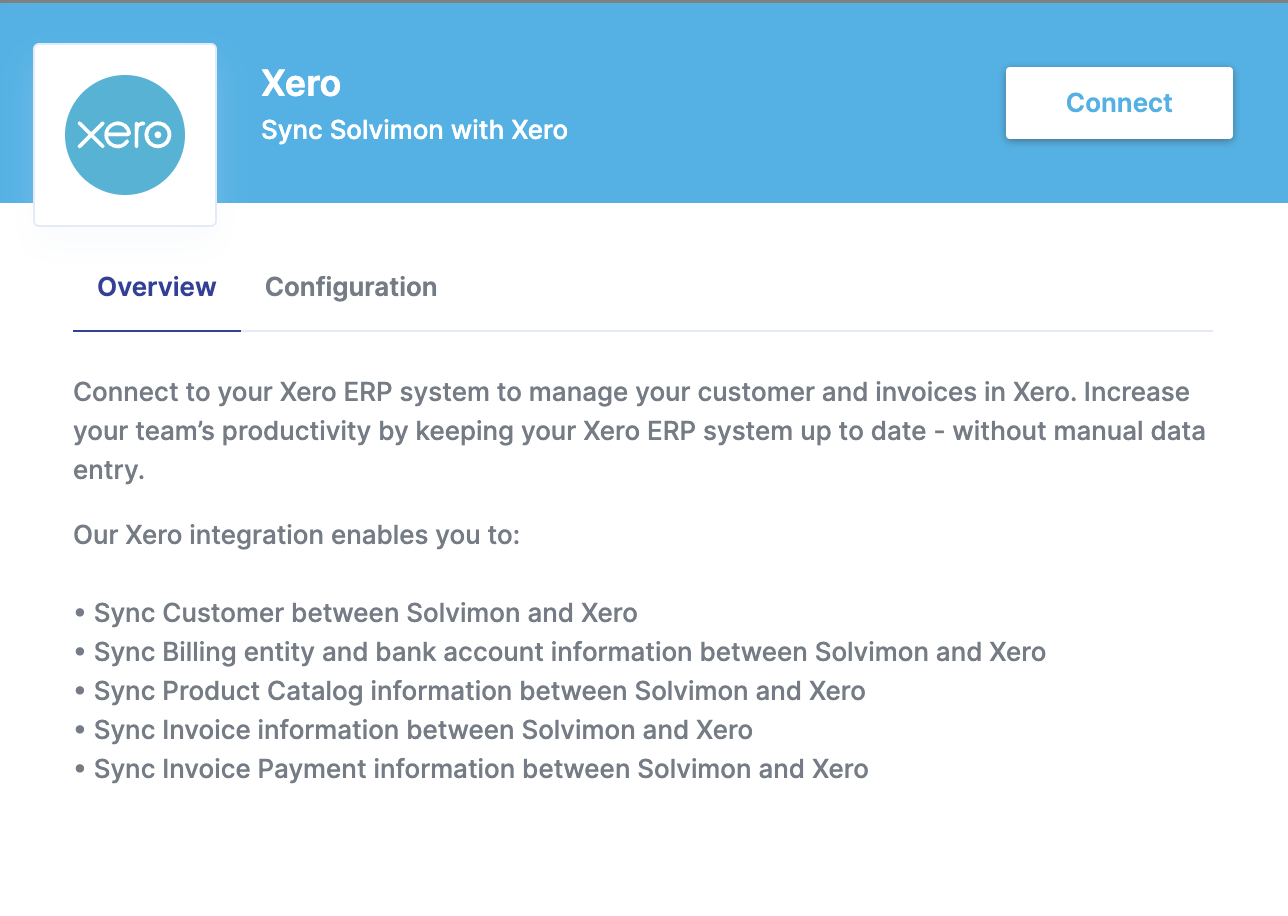
Once you click on Connect you’ll see a window opening up where you need to login with your Xero Account credentials
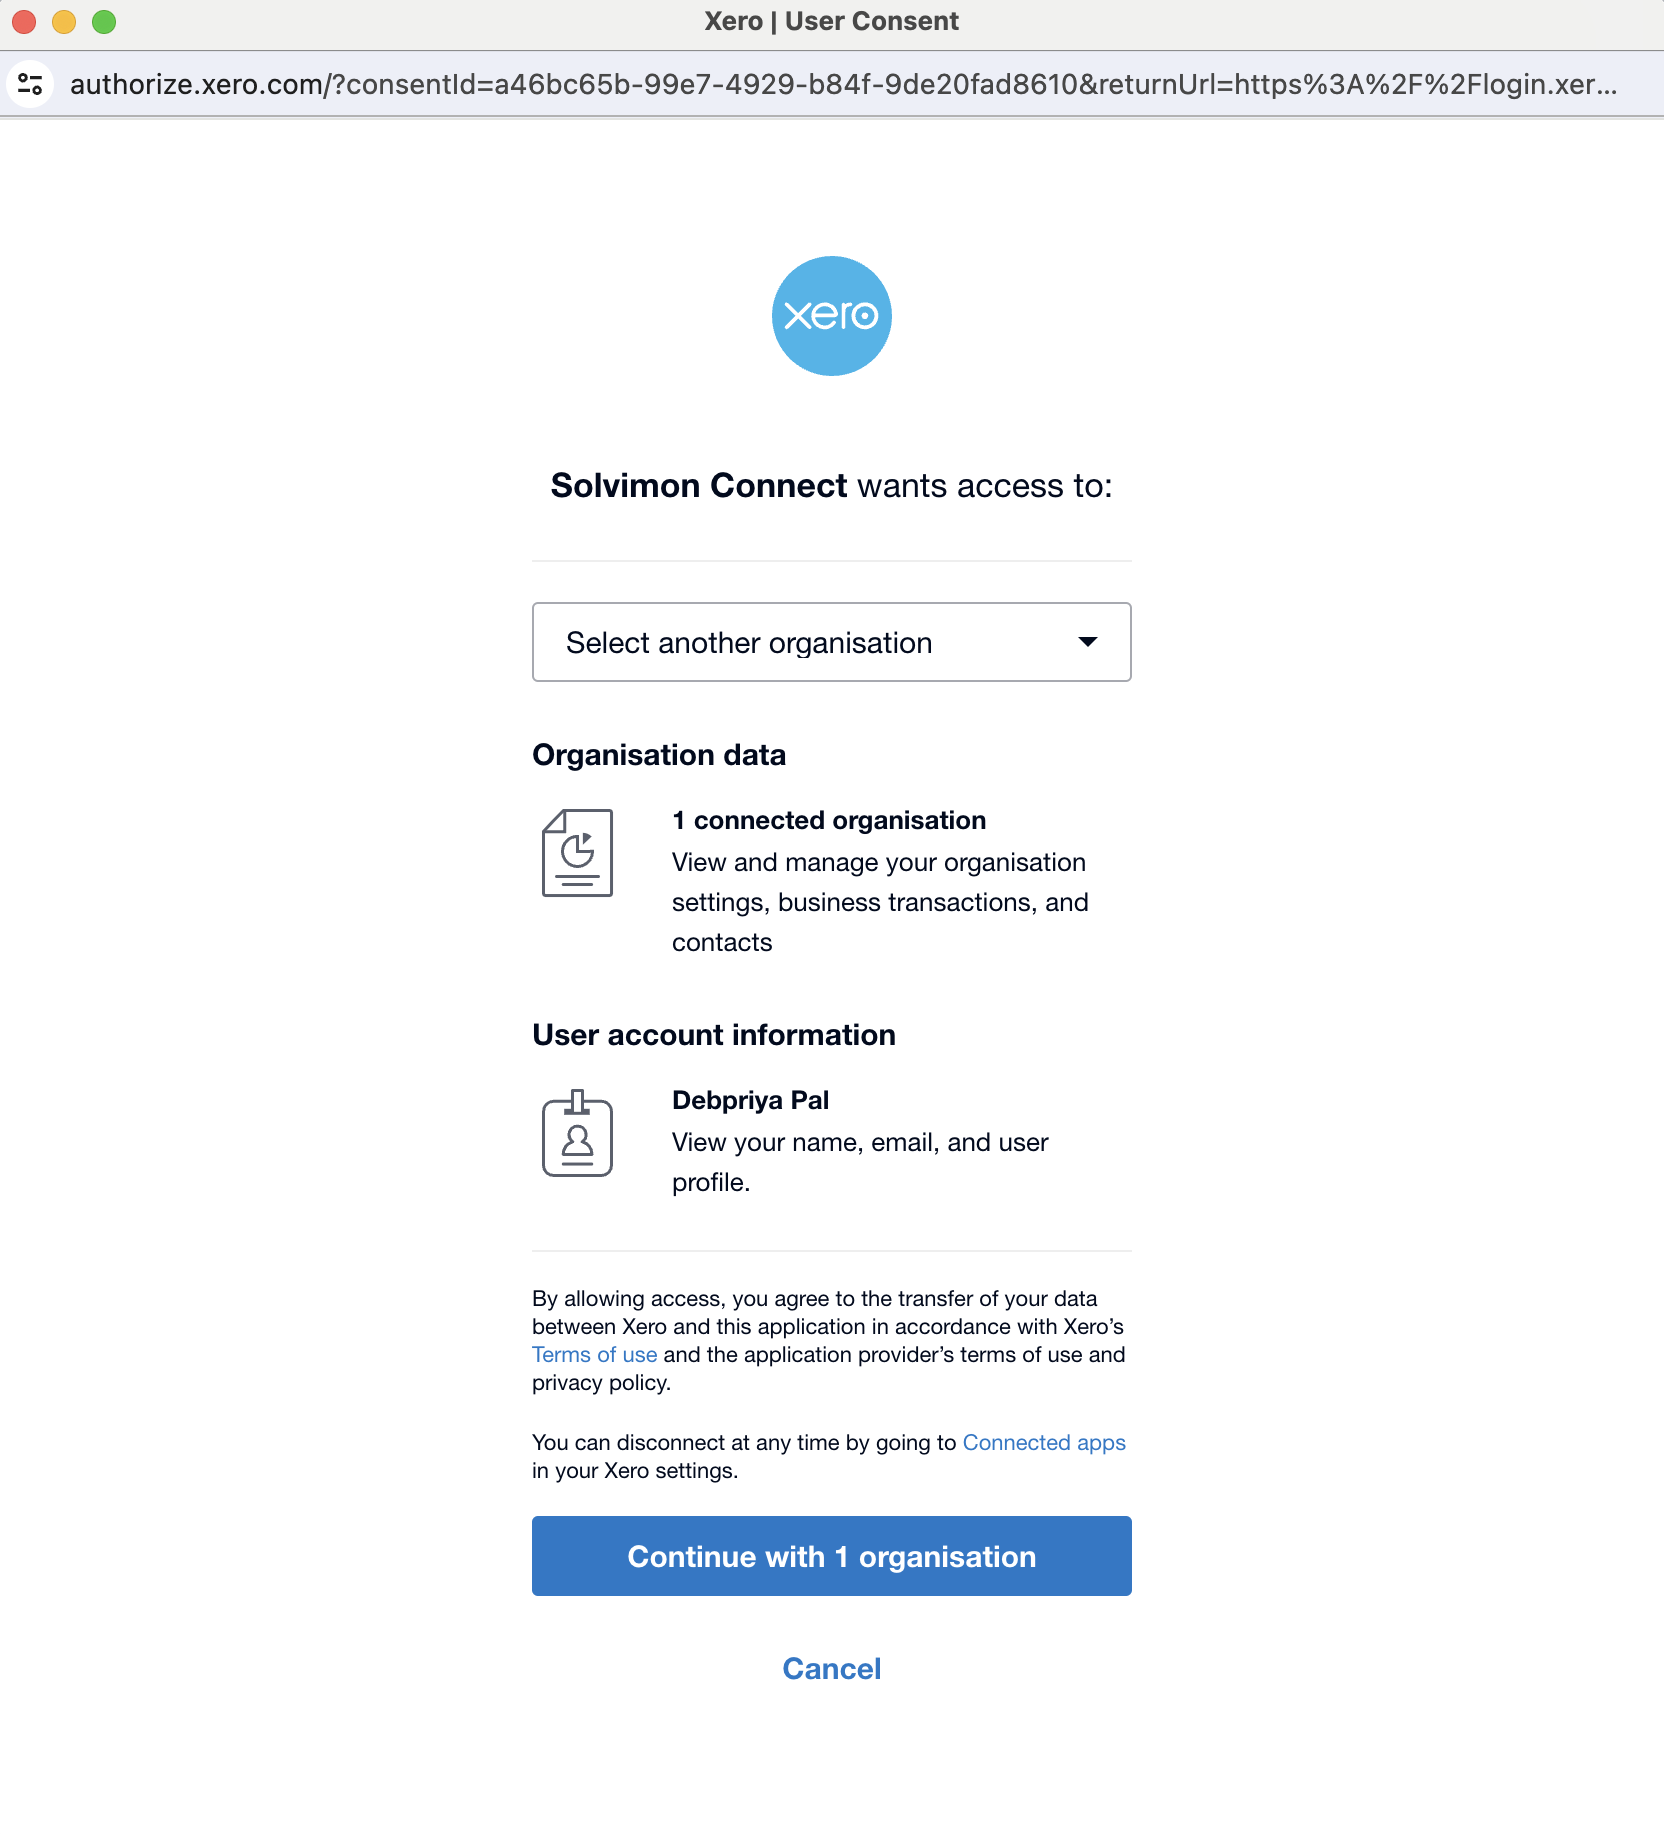
On Authenticating your credentials, you will be navigated to this screen where you get to select Organisation from the dropdown (if you have multiple) and Select Allow Access to connect your Xero application to Solvimon
Make sure that you have the Xero Demo Company set up and selected if you are using the sandbox environment.
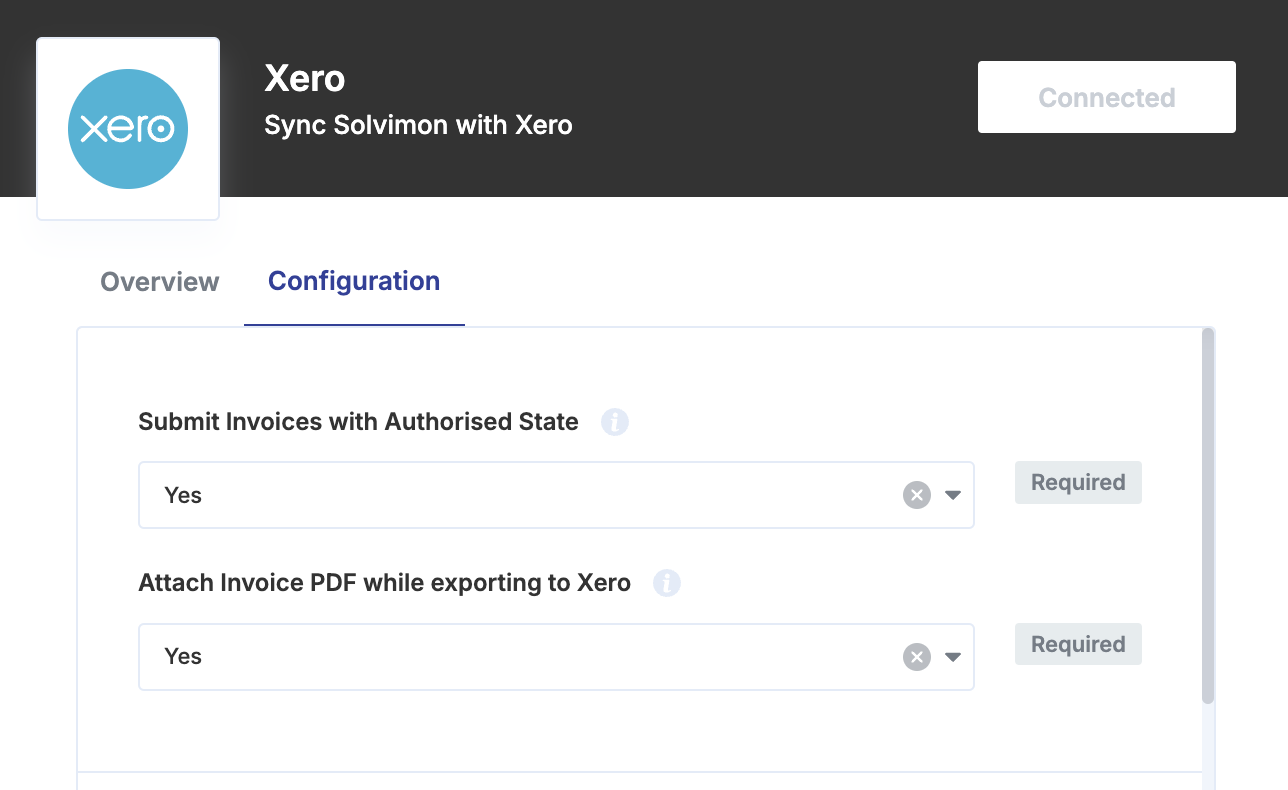
Once authenticated, you can view the configurations tab to enable the workflows you’d like to enable in your Xero Platform. Currently, the supported and out of the box workflows are listed under configuration but if you don’t see the one you’re looking for, you could reach out to your Sales Executive
You can import your Customers from Xero to Solvimon to speed up your onboarding process.
Every Organisation entity in Xero is treated as a Platform for Solvimon
So PrimaryContacts in Xero become Customers in Solvimon which is equivalent to Accounts and their contact details are synced under Contacts in Solvimon
Secondary contacts associated with the primary contact are synced as contacts on a customer in Solvimon with the following information
Whenever an invoice is finalised in Solvimon, it will automatically get pushed to Xero as an ACCREC Invoice
For Invoices pushed from Solvimon to Xero, each Product will be treated as a line item in the Xero Invoice along with it’s usage, quantity, price and tax. Set up the tax accounts configuration in Xero as shown below.
The invoices will be exported with the PDF generated in Solvimon along in the attachments section of the invoice in Xero
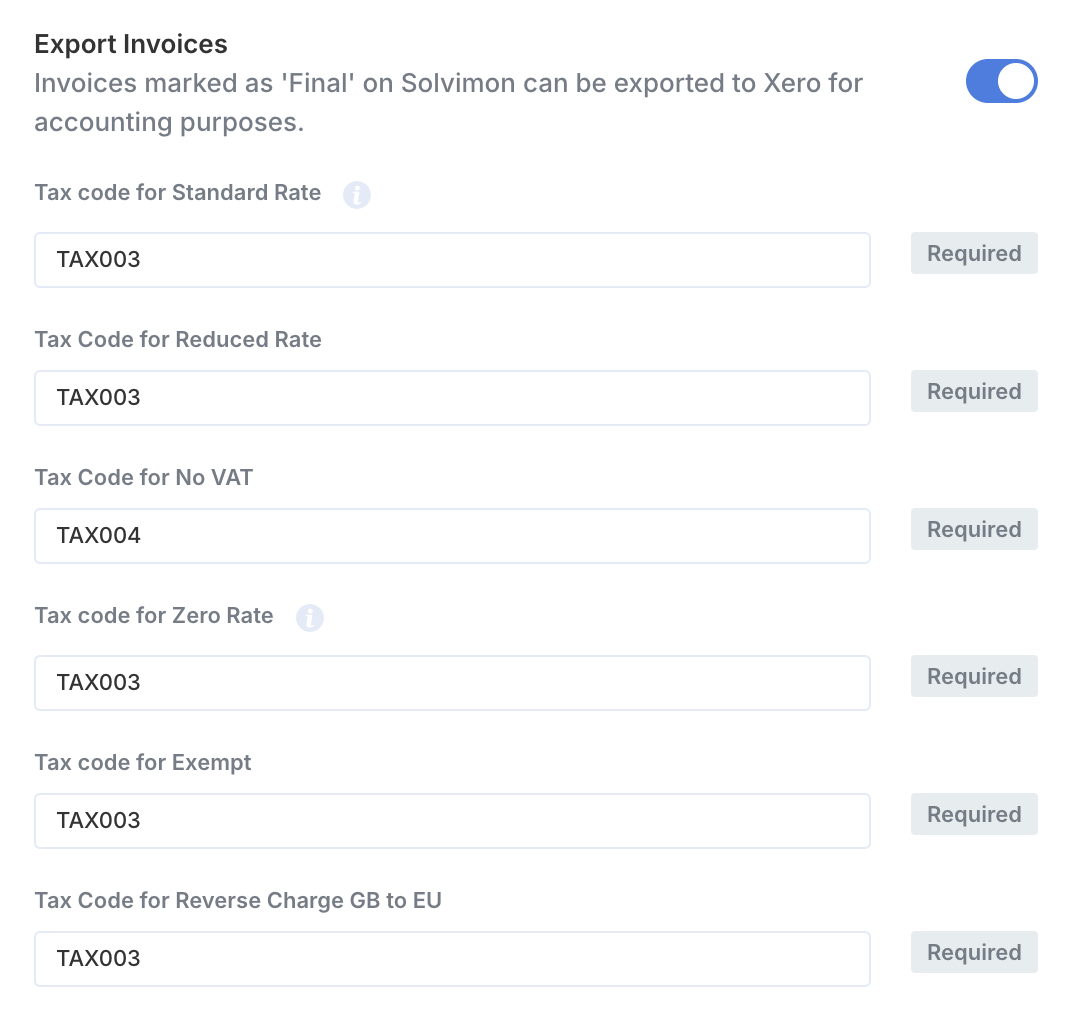
Configuring the account codes for revenue items ensures that the corresponding line items from the invoice are booked to the mapped account.
When this workflow is enabled, a scheduler runs daily at 9 AM CET. It checks all invoices marked as ‘Paid’ in Xero and updates the corresponding invoices in Solvimon accordingly.
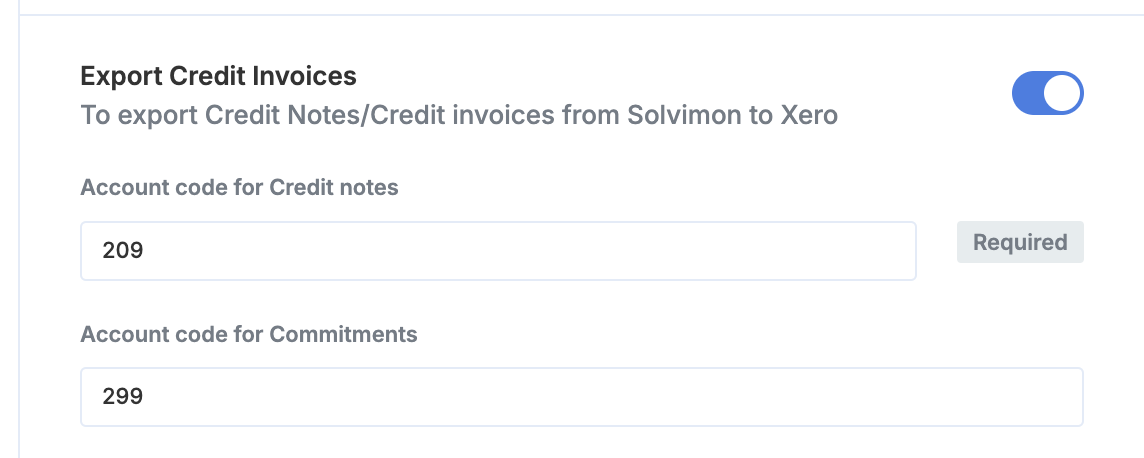
You can configure the account code for Credit invoices to ensure it’s exported to the correct account. The same tax configuration is applicable in this workflow as the one in export invoices flow.
All credit notes exported to Xero are of type ACCRECCREDIT
The credit invoice exported to Xero is a positive value invoice and of type Credit and won’t be a negative value credit note as you see in Desk
You can import details of your billing entities (read more about billing entities here)
Every Organisation entity is treated as a Billing Entity in Solvimon, created and synced automatically on running the integration.
You can add more than one Billing Entity to your platform on Solvimon. In order to be valid for invoicing in Solvimon every Billing Entity needs the following
To gain the most value from the accounting integration, follow the below steps:
Once the integration is in place there can be multiple ways to setup the synchronisation. Its by default trigger based for updating the list but custom triggers can also be handled and for such requirements you can reach out to your sales executive for further assistance
You can now view your desired data on the Solvimon Desk and vice versa on your Xero platform based on the integrations chosen.
🎉 You’re now all set and have enabled synchronisation!
