Users can be managed in the Users section under the Settings Menu. One user can have access to multiple Platform accounts, on multiple environments.
You can view a listing of the Users that are created and have access to your platform here.
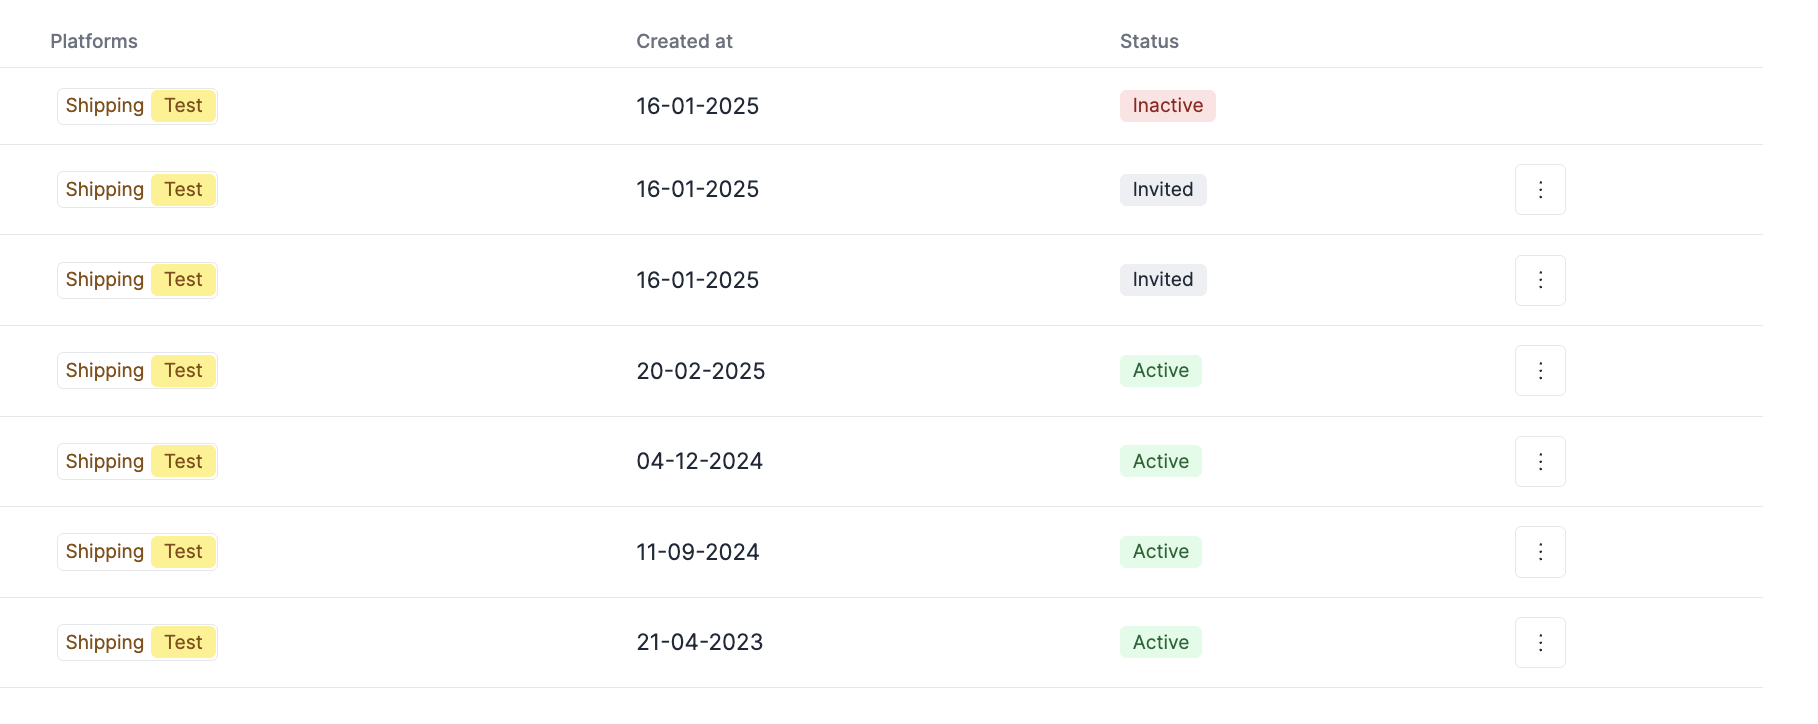
To create a new user, go to Settings → Users and click on + Add user in the top right corner.

Then, provide the email address of the new user and assign the specific roles you want to give to the new user. For more information about the roles and respective permissions, please visit this page.
To be able to add a new user, you need to have the User Administrator Role or Administrator Role assigned to your user.
After clicking on the Invite user button, the user will receive on his/her inbox an invitation email with an URL to set up the password to access Solvimon Desk.
To update your account information conveniently, you can access the icon on the top right corner and click in the Account settings button to update the email address linked to the user.
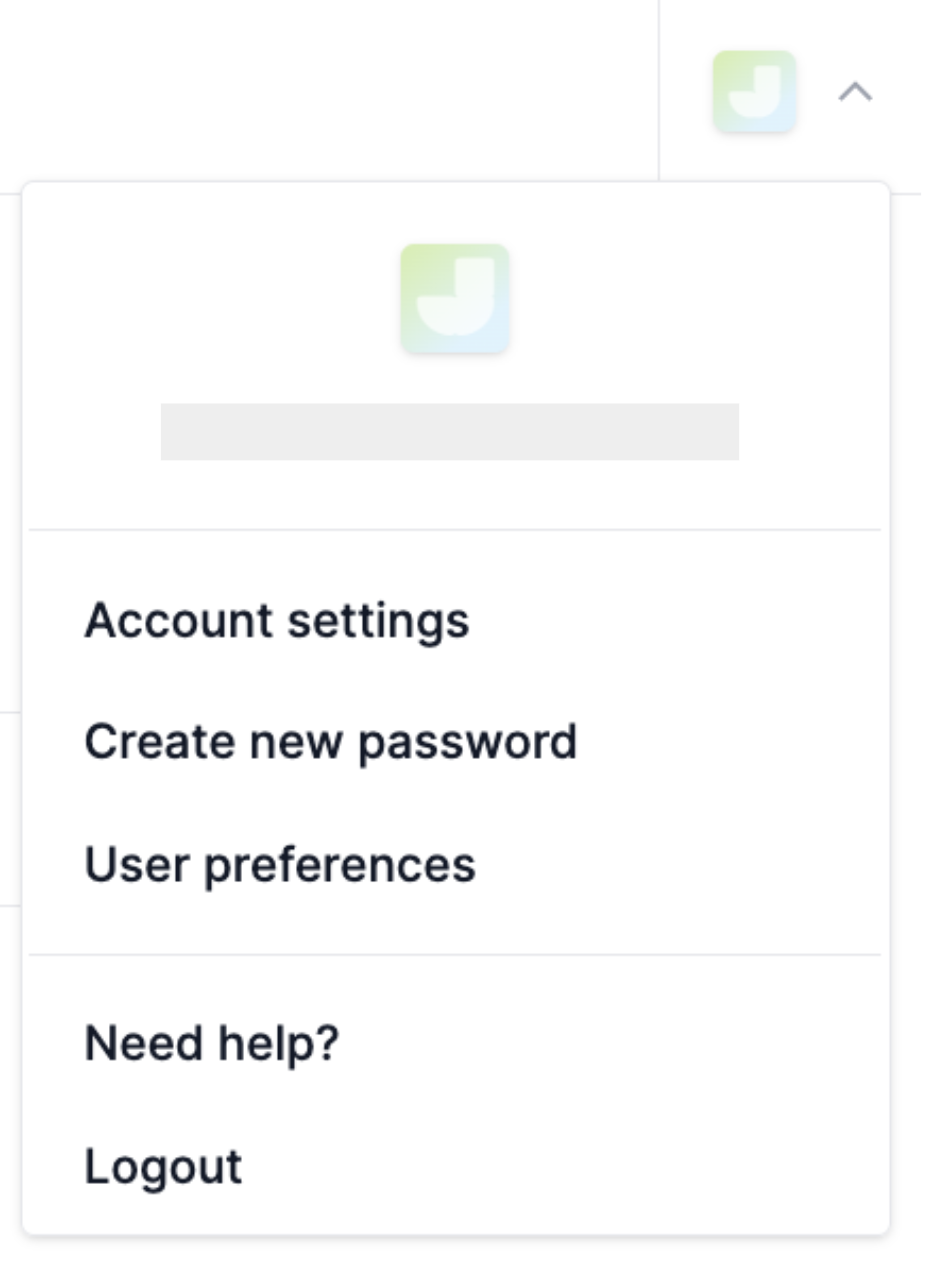
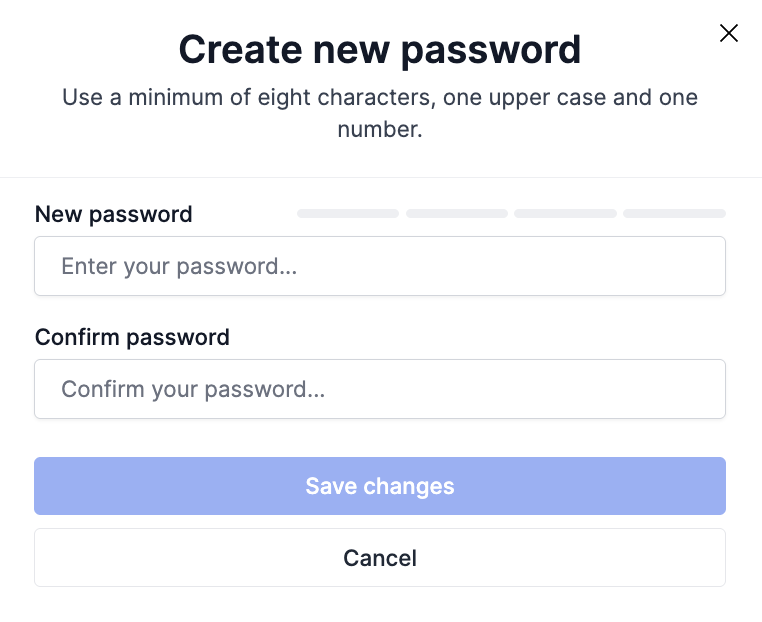
Similarly, you can also click on the Create new password button to set up a new password.
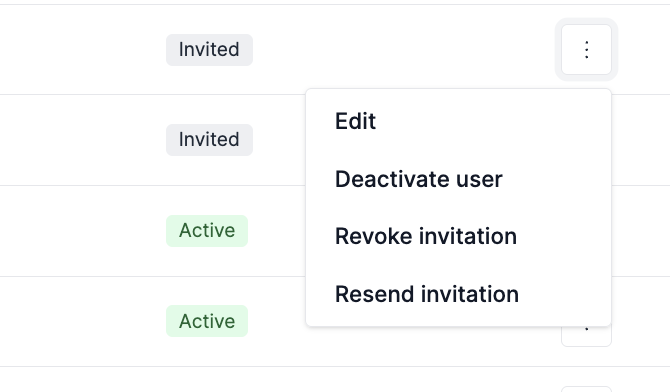
On the Users screen, depending on the user status, some actions can be performed.
An user can be edited and new roles can be assigned or revoked by going to the three dots button on the right section of the user and click on Edit.
Then, by clicking on the Assign roles button, roles can be edited.

For users whose status is Invited, it is possible to either resend the invitation email, or to revoke the invitation request.
For Invited or Active status, it is possible to deactivate the user, removing its access to the platform.
Solvimon supports single sign-on with Google accounts. You can reach out to us to configure it for your users, where any specific domains you’d want to whitelist for your organisation can be provided.
Solvimon supports single sign-on for the Okta provider. In order to enable this feature, it is required to set up a new App Integration on your Okta instance. To do so, the following steps can be followed:
ApplicationsCreate App Integration with the following details:
Sign-in method: OIDC - OpenID ConnectApplication Type: Web ApplicationApp Name: Up to the customer (Example: Solvimon Auth0 Integration)Sign-in redirect URIs: Reach out to the Support Team to get this field.Controlled access: Select who can access this application.Client IDClient SecretIssuer URIOnce this is is information is provided, Solvimon is able to finalise the Okta set up.
Solvimon can also provide a secure Self-Service URL that contains a step by step on how to set up the app, and where is also possible to submit the Client ID, Client Secret and Issuer URI and test the connection right away.
Reach out to the Support Team or Customer Success Manager to request a secure Okta Self Service URL.
Once the self-service flow is completed, inform the Solvimon team.
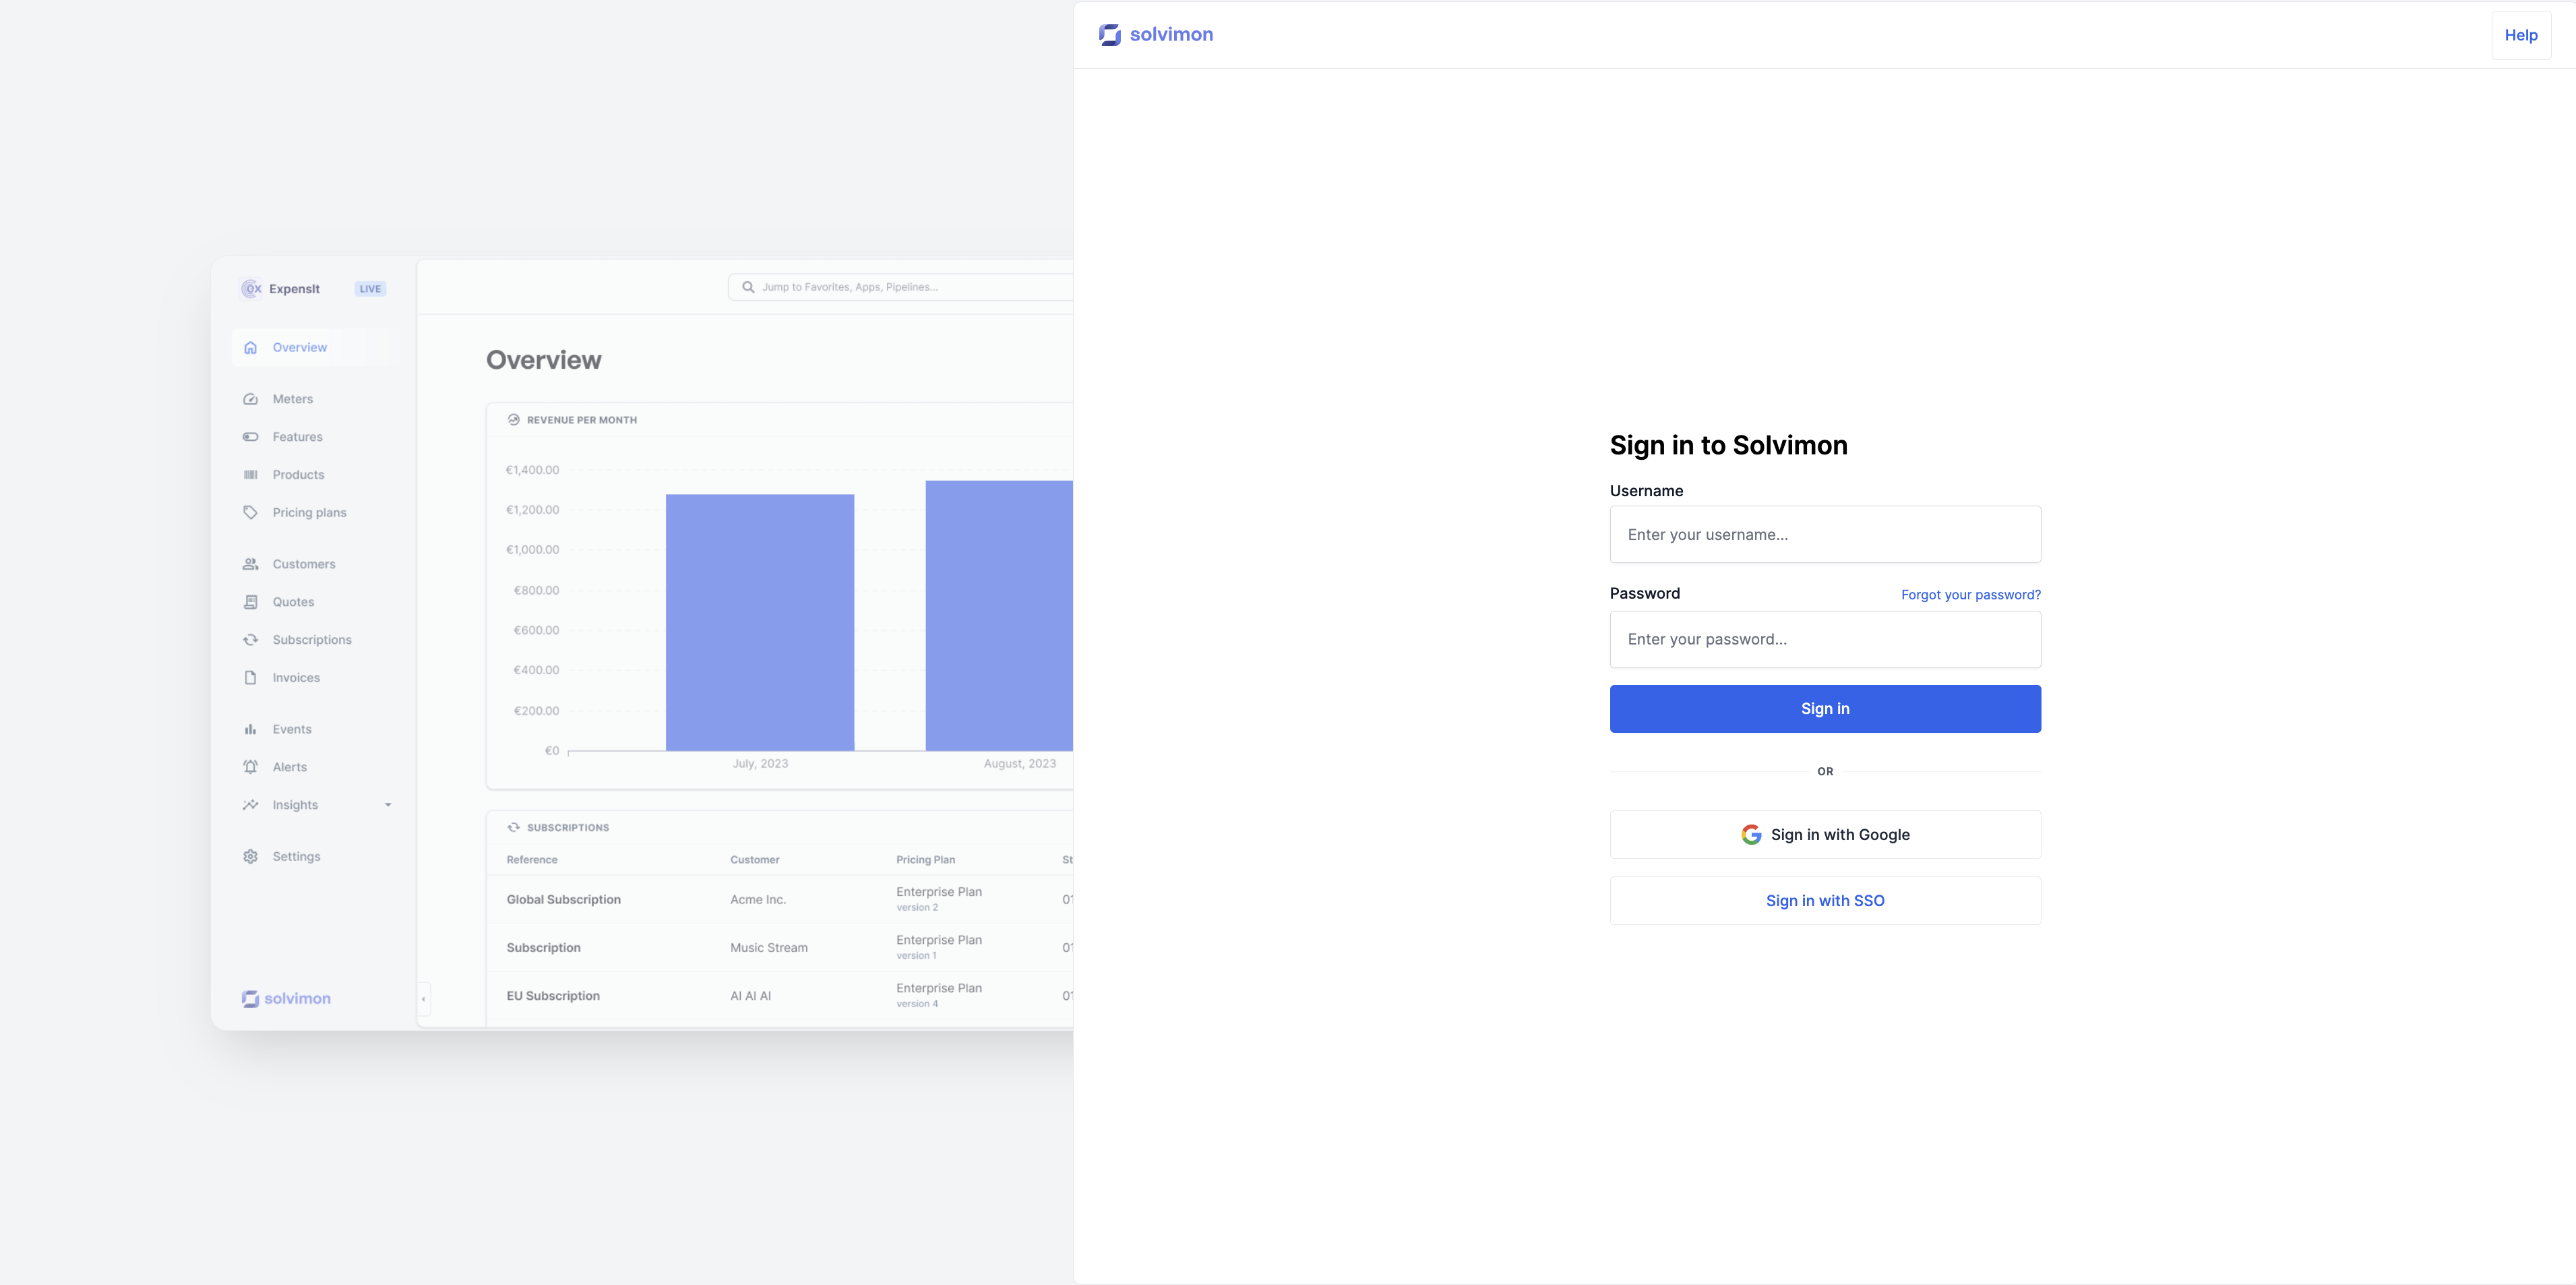
After the Okta Set Up is finalised, the sign in process starts by going to the Log In screen and:
Sign with SSO button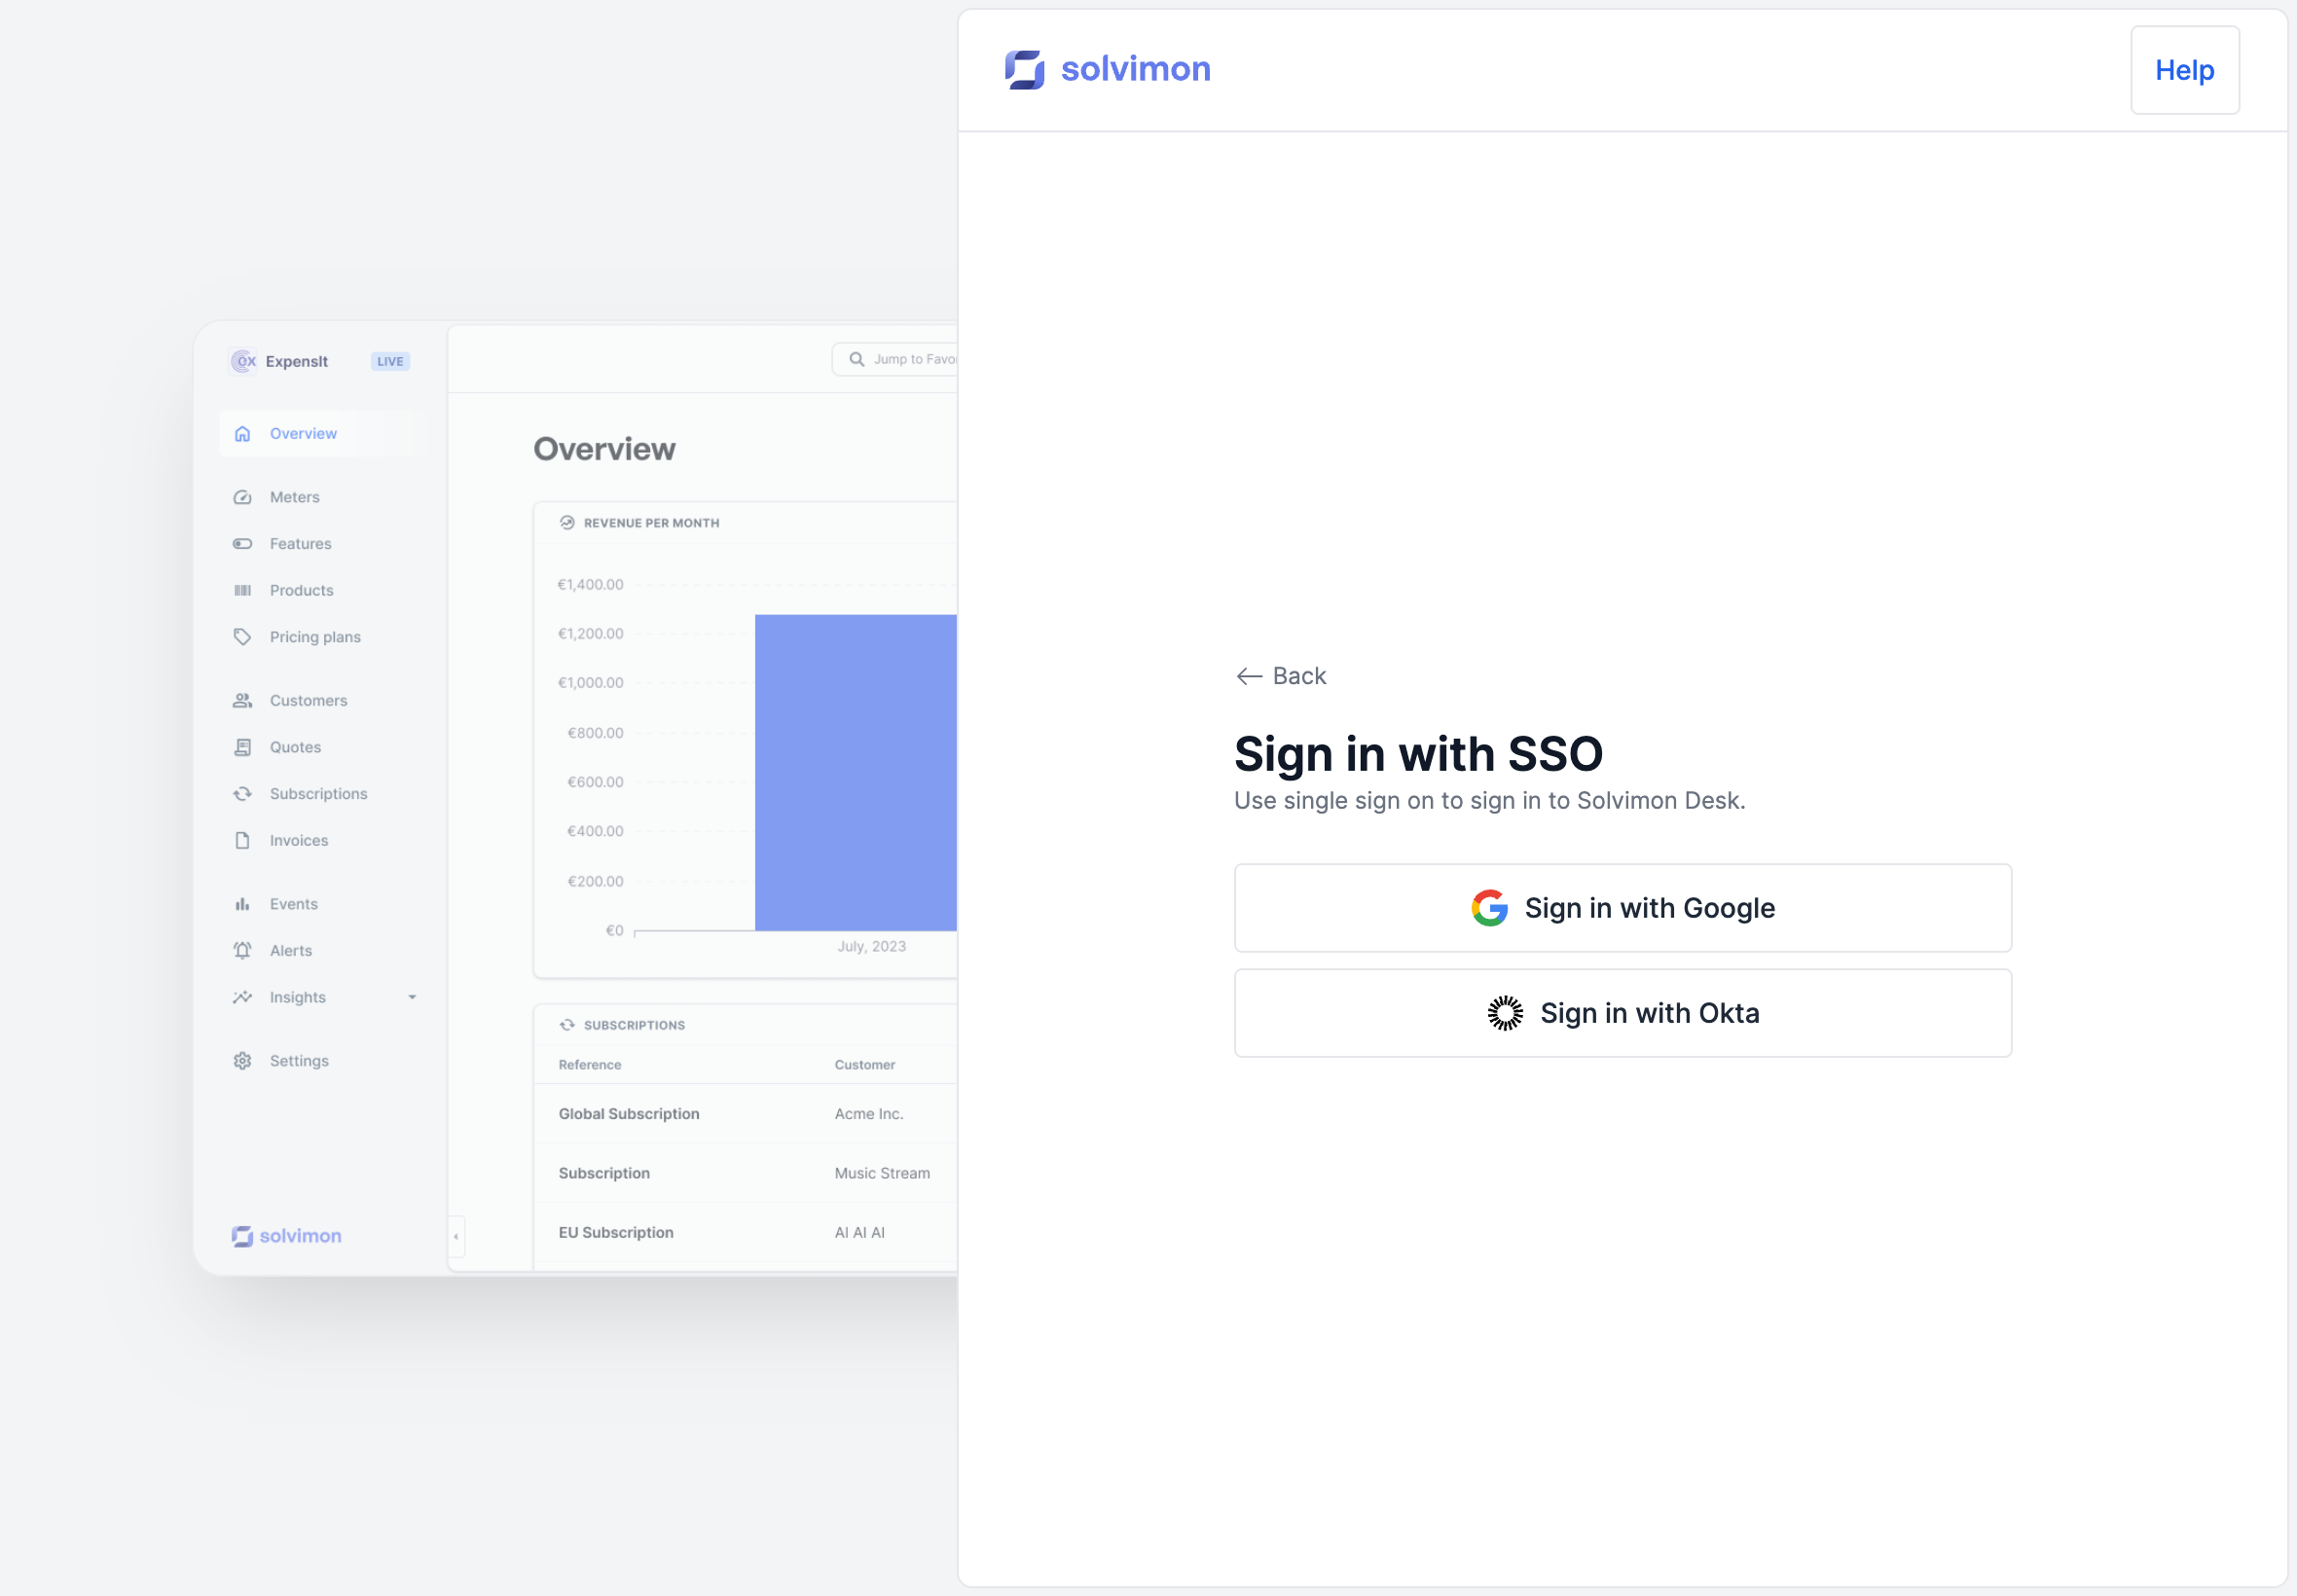
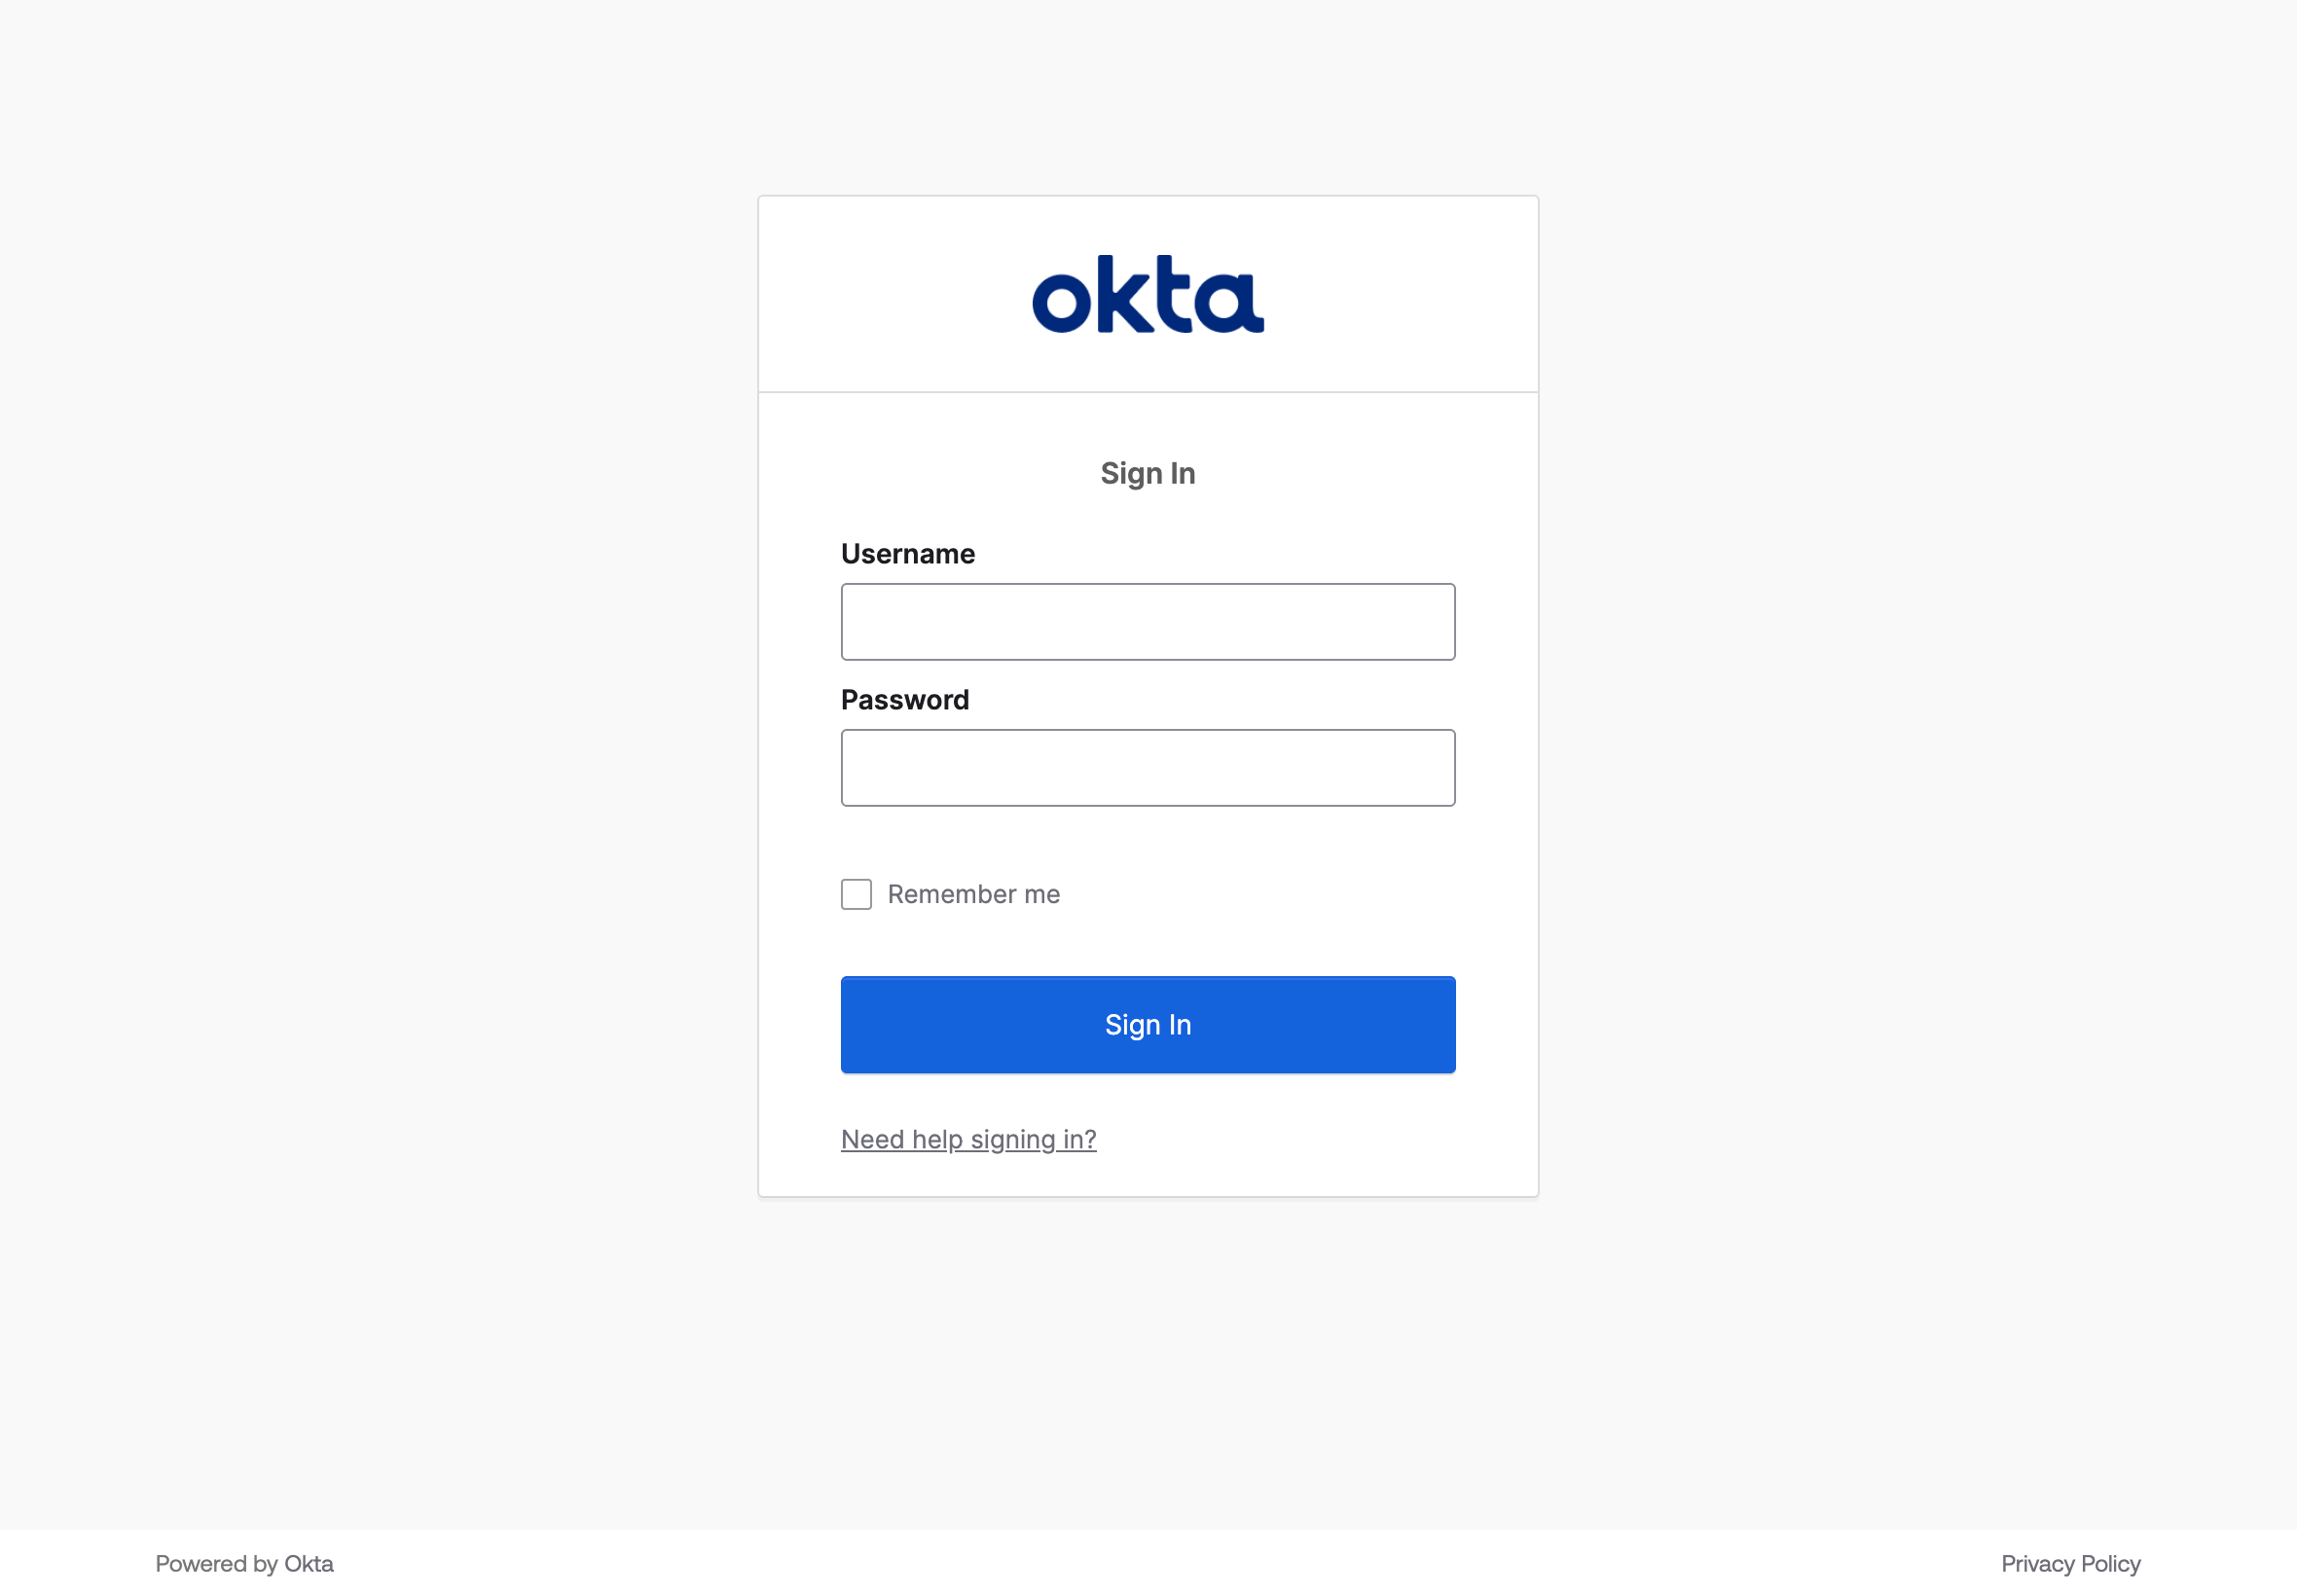
This will forward you to the Okta’s sign in screen. Once you input your login credentials, you will be redirected to Solvimon Desk.
It is possible to turn off the default username and password login functionality. Please let our support team know if you wish to have this option enabled.
The email address used to log in to the Okta account must be the same as the one registered for the user in Solvimon Desk.
To de-activate users, please contact Solvimon support
