To send out templated emails to your customers we offer a direct integration with Twilio Sendgrid.
To start setting up the integration, you will need the following:
The first step is to generate an API key such that Solvimon can directly connect with your Sendgrid account. To generate an API key you need to navigate to Settings/API Keys on the dashboard page of your Sendgrid account. You can create an API key with restricted access, and grant full Mail Send access (ensure you allow Mail Send and Scheduled Sends), and Read Access to Mail Settings. The last permission is used to test if the connection between Solvimon and Sendgrid is correctly set up.
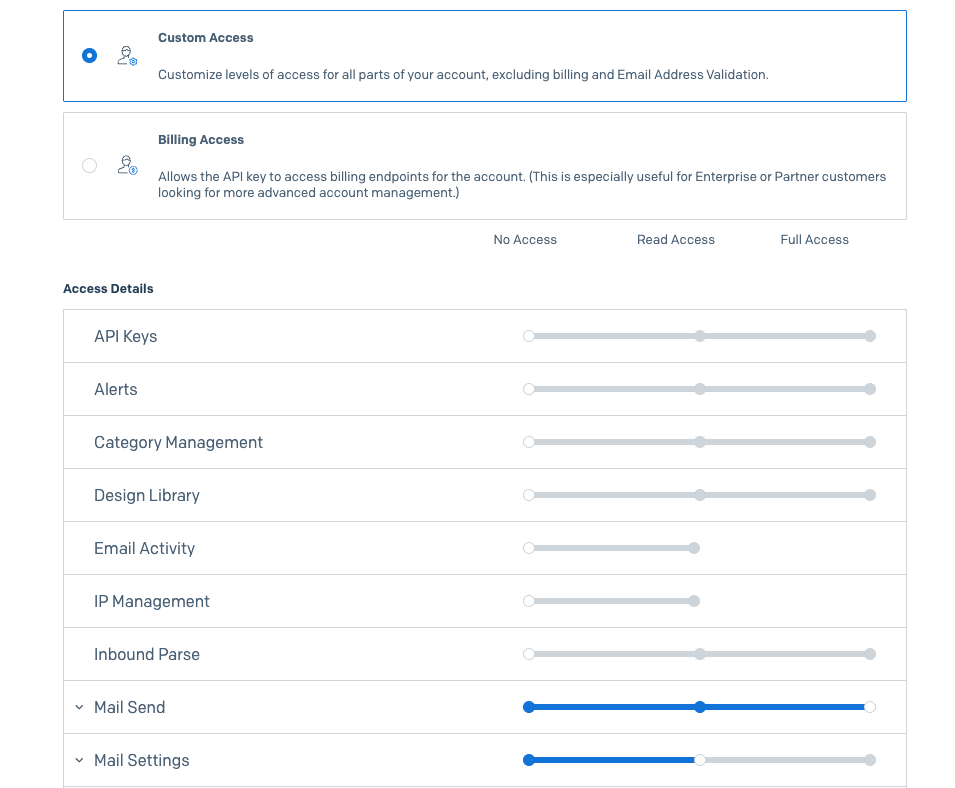
Make sure you save the API key, which you will need to enable the integration in Step 4.
The next step is to create a dynamic email template that can be used by Solvimon to send out emails to your customers.
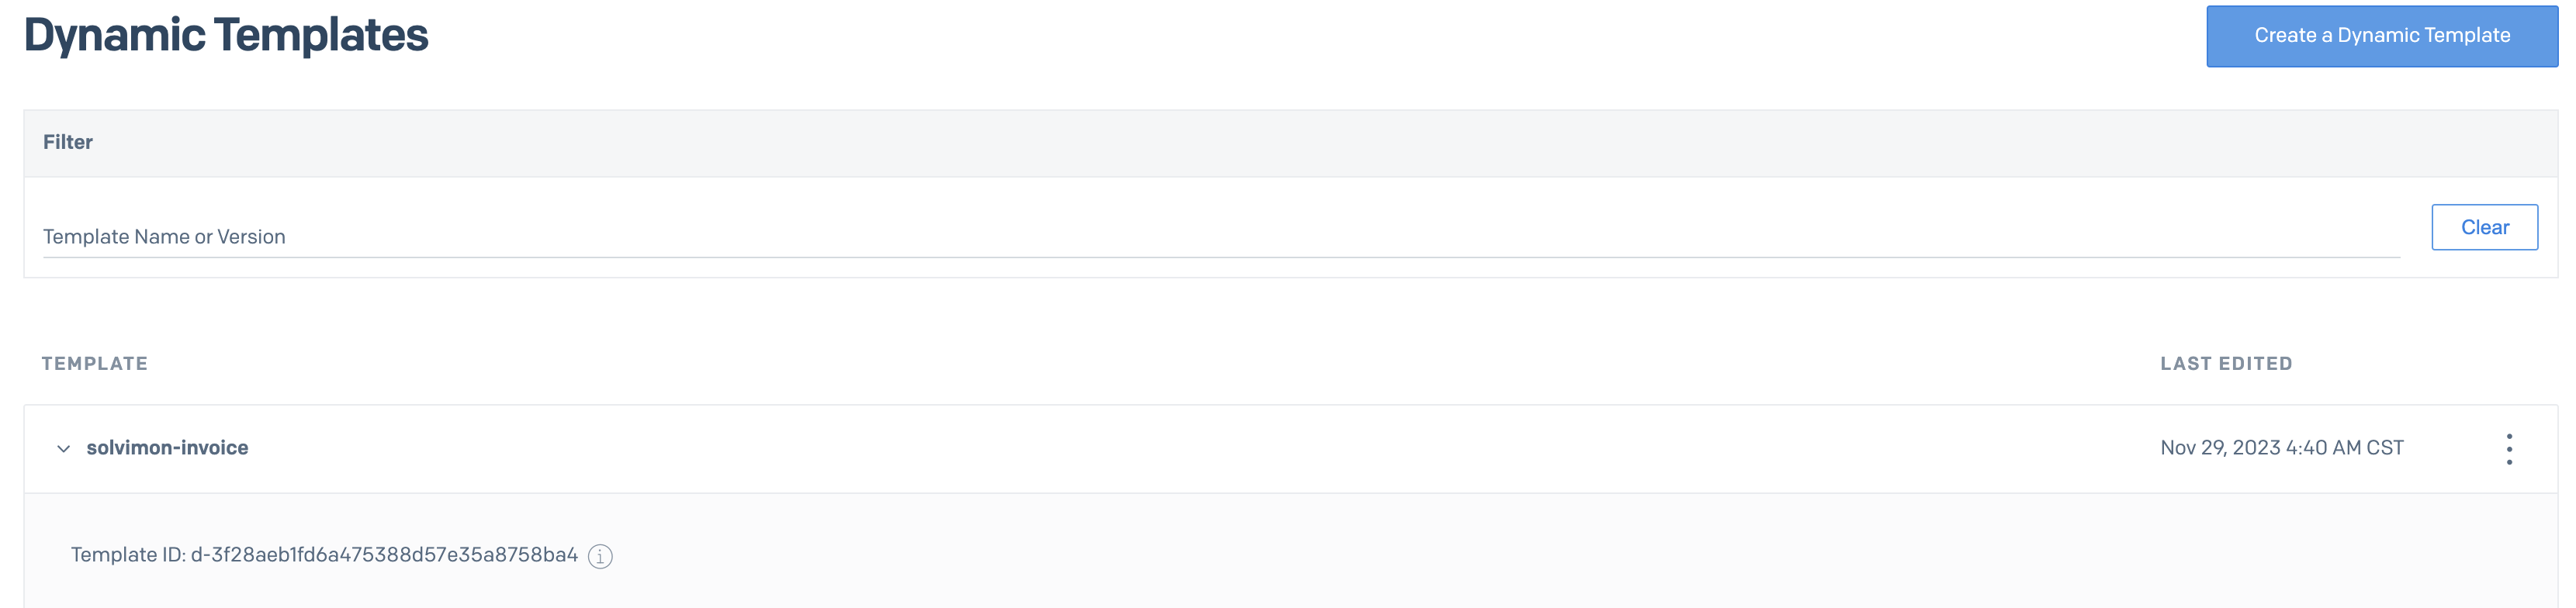
You can create a dynamic invoice template by navigating to Email API/Dynamic Templates and selecting Create a Dynamic Template. You can then create your template using the Sendgrid template builder. Make sure you keep note of the template ID (see image) which you will need when you enable the integration in Step 4.
For more information on the available email flows, pre-made templates and handlebars refer to the email providers page.
This is an optional but highly encouraged step. To ensure the emails you send out can be trusted we encourage you to verify your domain in Sendgrid. To verify your email you will need to be on at least the Pro plan of Sendgrid.
To start verifying your email domain you will need to navigate to Settings/Sender Authentication.
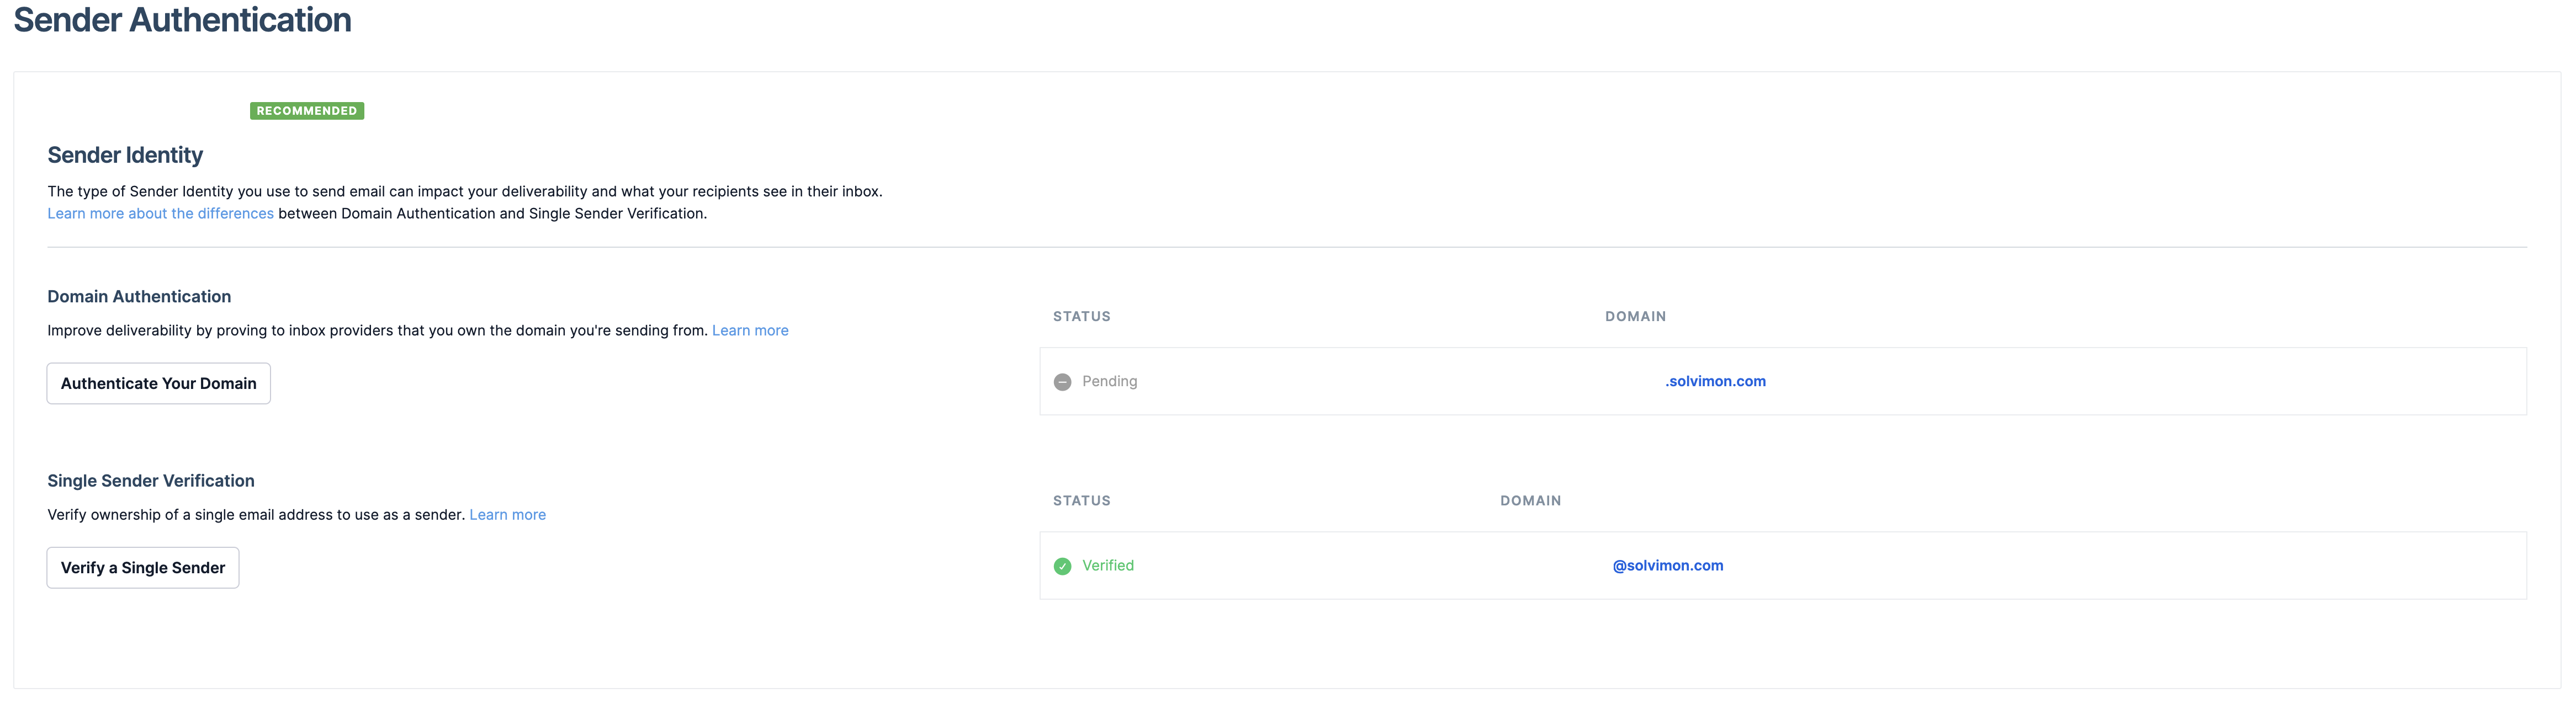
Here you can:
For both options Sendgrid will guide you through the verification process.
To set-up the integration with your Sendgrid account you will need to navigate Setting/Integrations in Solvimon Desk, here you can enable the Sendgrid integration.
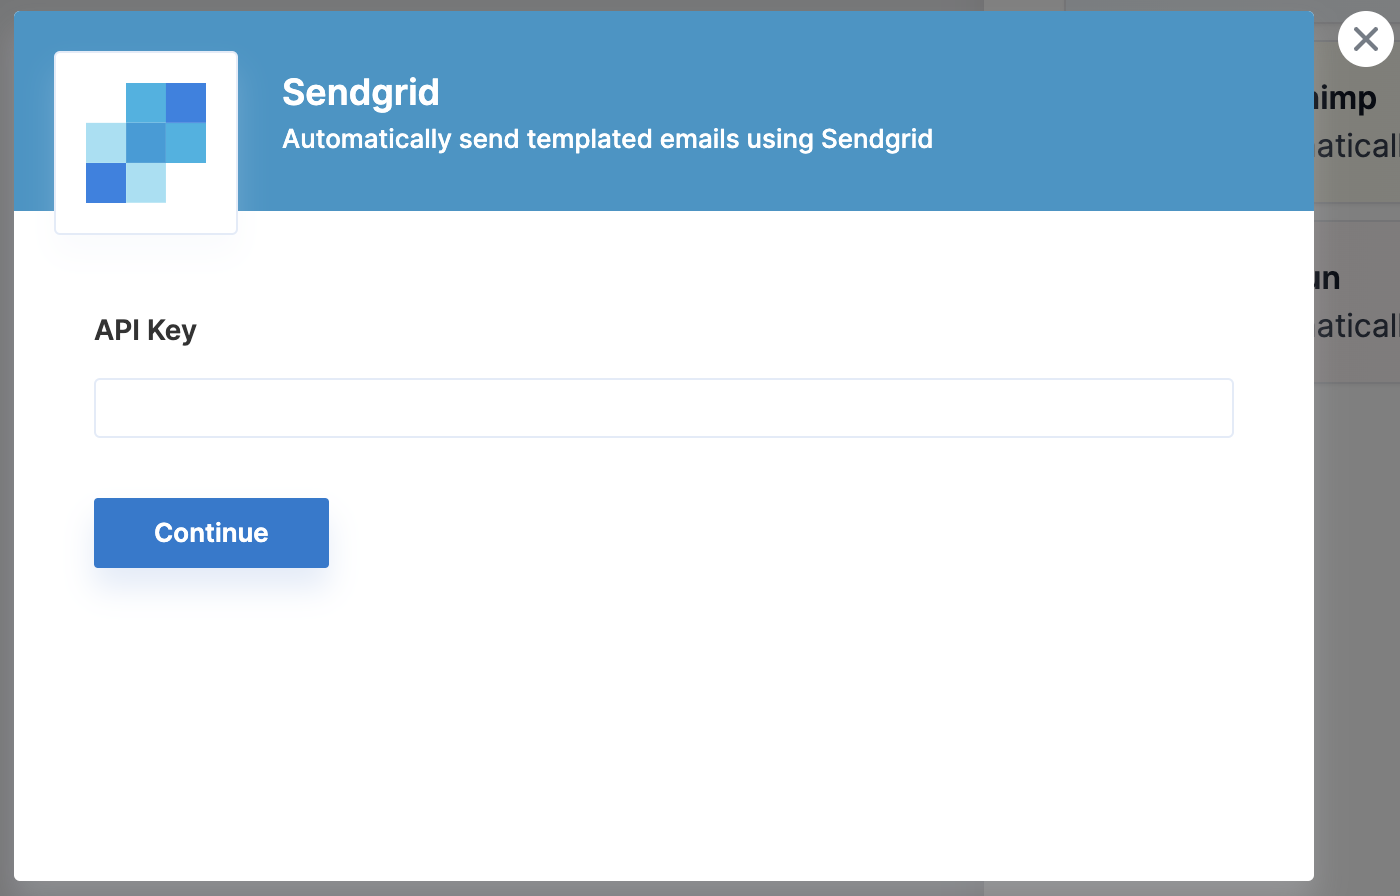
Here you need to fill in your API key to set-up the integration. Then when the set-up is successful you will need to fill in the relevant templates IDs and the email address to use to send emails from.
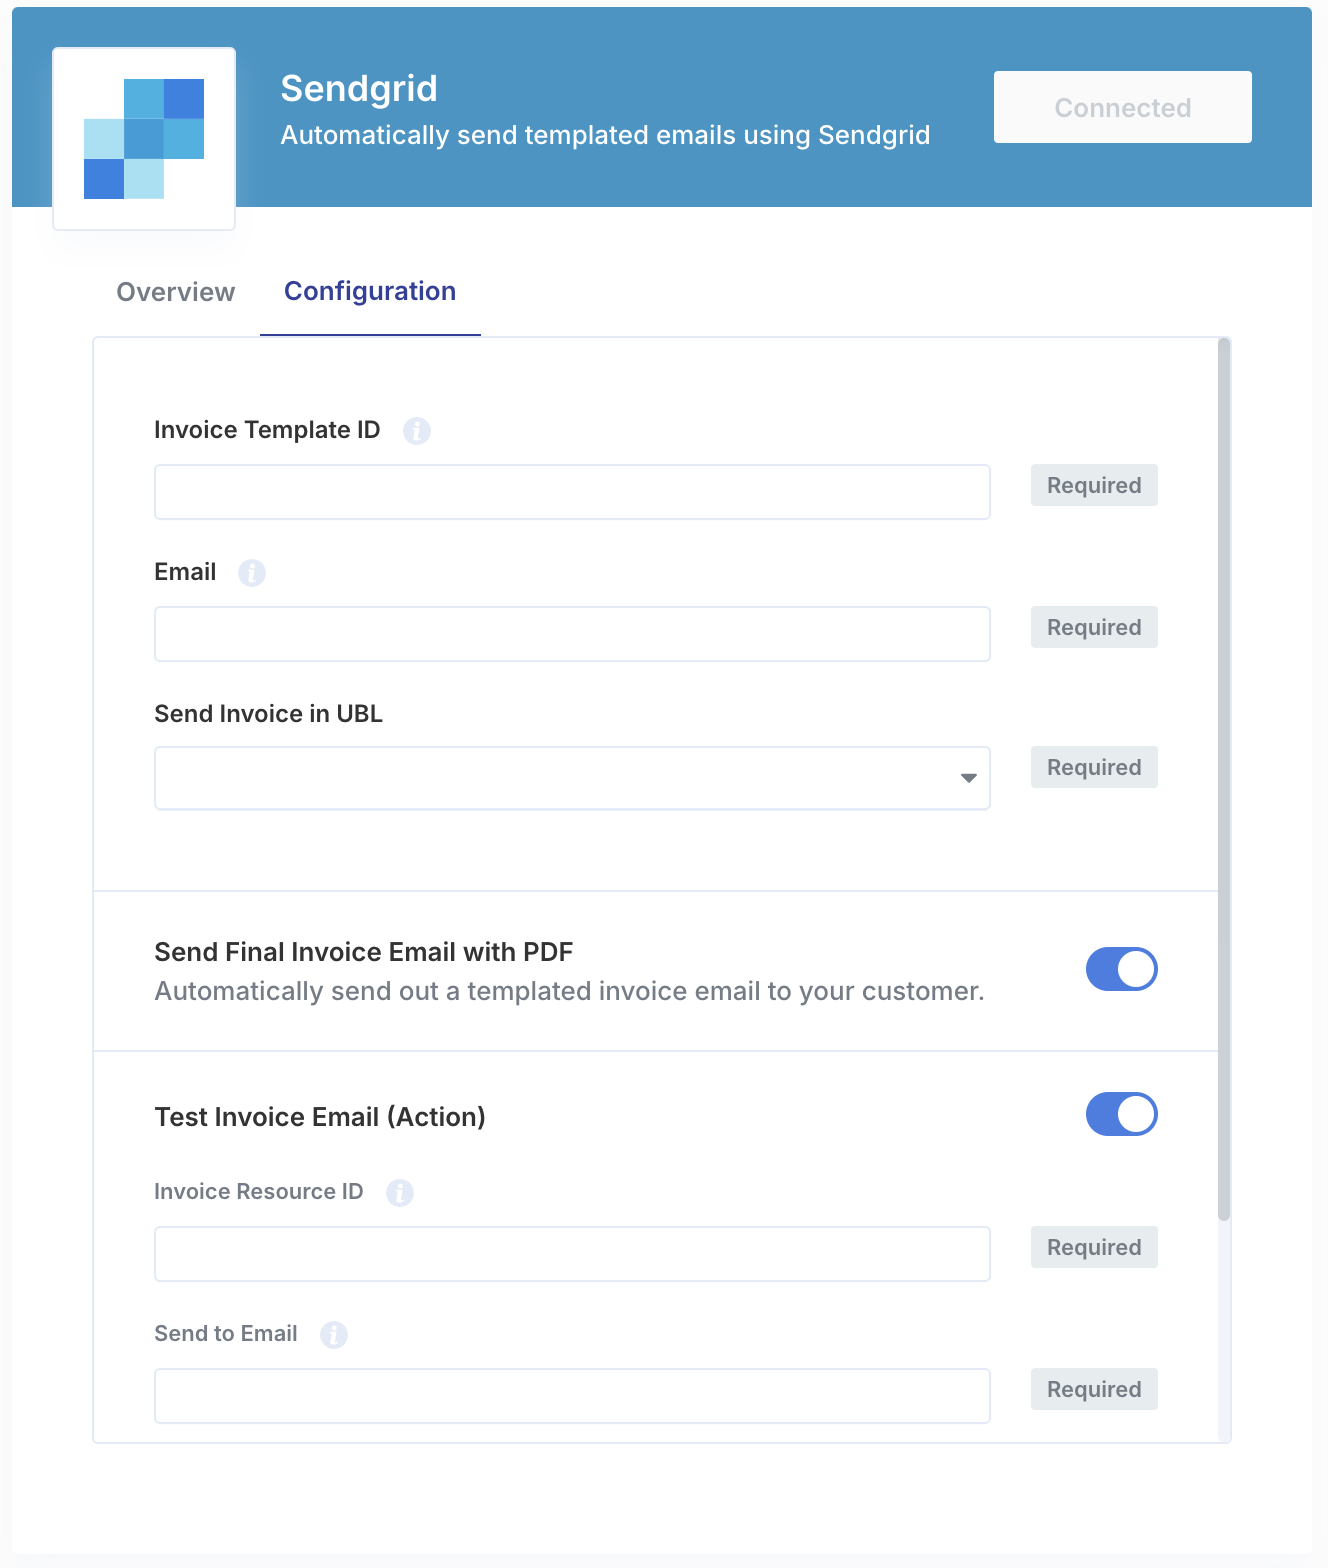
After this the last step is to enable the specific email flows you’d like to send out and sending out a test email.
To test the set-up of the email integration, after you’ve enabled the integration, you can send out test emails. To do this you will need to enable the “Test Invoice Email (Action)” in the configuration tab and input a valid Invoice Resource ID and Send to Email. You can find a valid ID by looking at the URL of an invoice (https://desk.solvimon.com/invoices/Invoice Resource ID) where it is of format invo_.
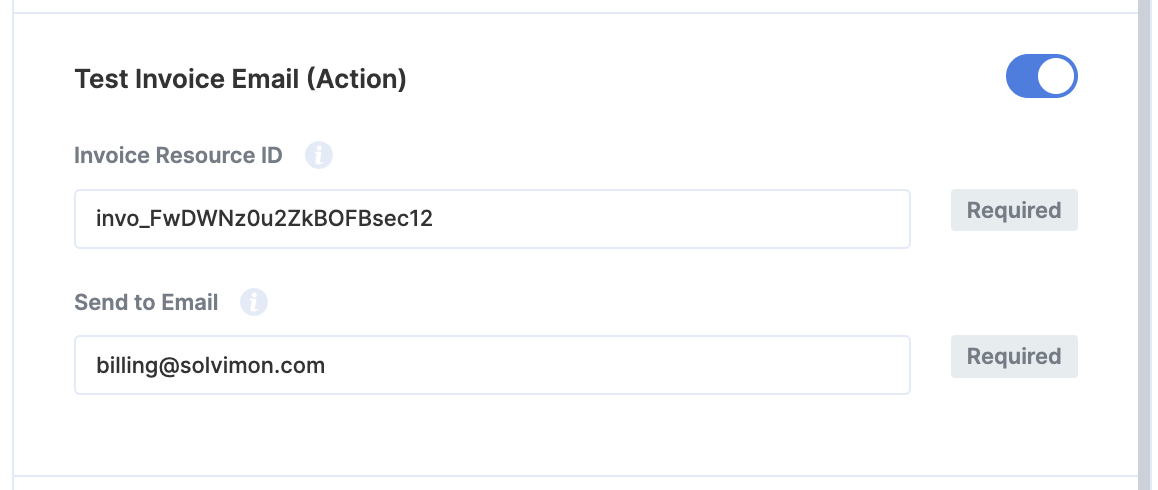
To then send a test email you can click on the three dotted menu item and select “Test Invoice Email” (see below).

You should then receive an example of invoice email at the Send to Email email address. Depending on the validity of your email domain (e.g. having it verified) the email might end up on your spam folder.
🎉 You’re now all set and have enabled automated emails.
