To set-up your customers and contacts in Solvimon, we offer a direct integration with Salesforce.
Integrating the Solvimon Desk widget into your Salesforce CRM will enable you to do the following:
To be able to start setting up the integration, the following elements will be required:
To ensure the data integrity between the Solvimon Desk platform and Salesforce CRM, it is important to follow the next steps:
For Salesforce Accounts it is required:
Link the Account (the companies) to an Opportunity.
Add the Country of your account (written out fully in English, e.g. United States or Netherlands).
The Billing Street field should not be empty (only the street name and number, no post code).
Billing City should also not be empty.
If an Account is not associated with an Opportunity, it will not be synced to Solvimon Desk. In addition we require a list of deal stages to be given when setting up the integration. Only accounts that are in those deal stages will be synced.
An empty Billing Street or City fields will cause workflows to fail. If the Country field is empty or it is not written in English, it will default to NL (Netherlands).
For Salesforce Contacts it is required:
The Contact must be linked to an Account.
First Name and Last Name must not be empty.
Email must not be empty and should be a valid email address.
An invalid or empty email will result in a default email unknown@unknown.com.
If the contact is not associated to an account, it will not be synced to Solvimon Desk. Also, if the first and/or last name are empty, it will default to “undefined”.

First of all, in the Solvimon Desk page, go to the Settings page and click Integrations. This page provides an overview of all the possible supported integrations. Under the Customer Relationship Management section, Salesforce integration can be found. There, it is possible to establish the connection:
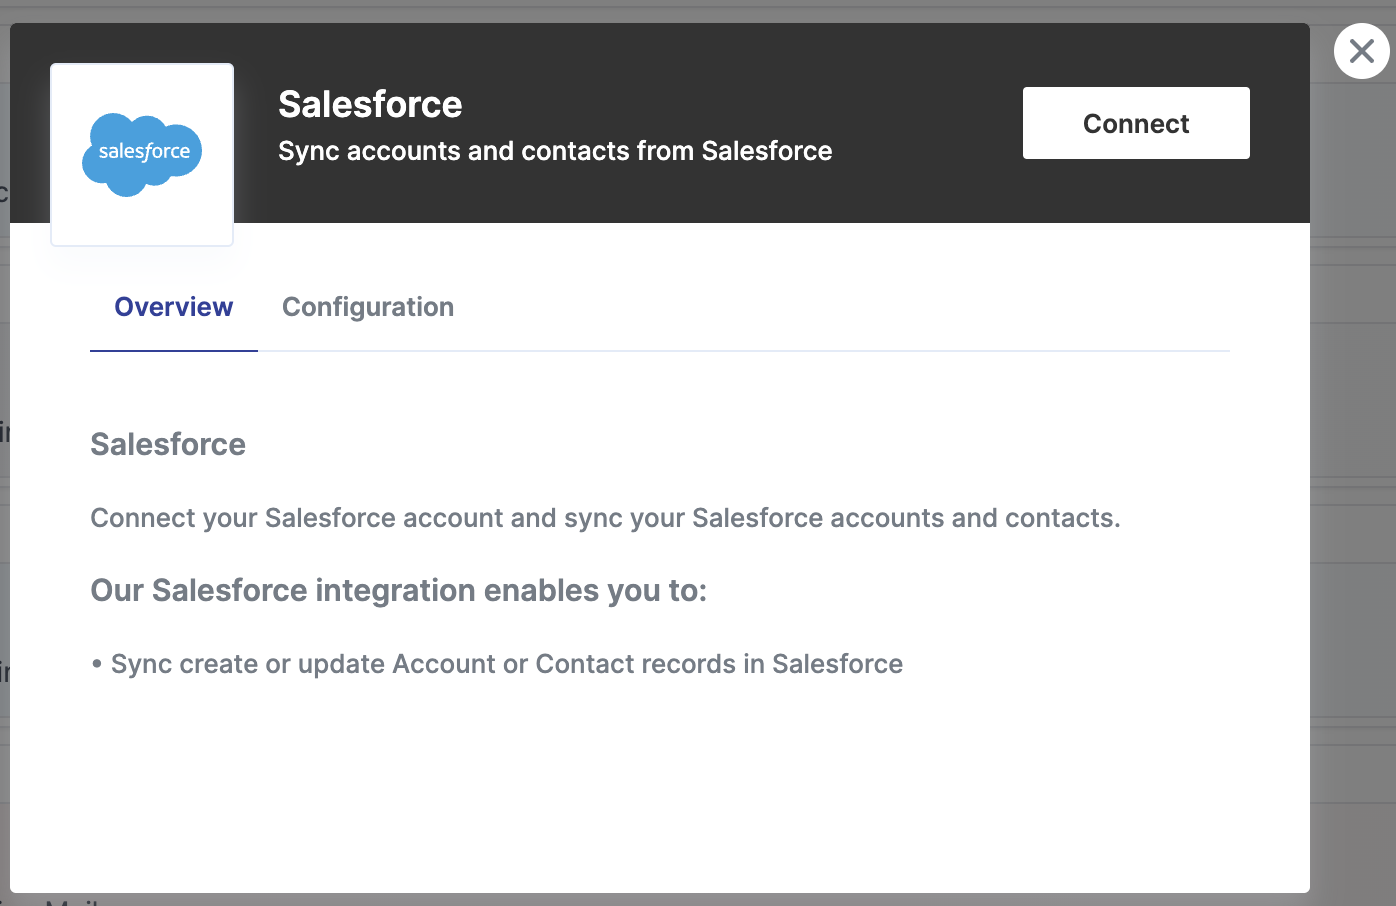
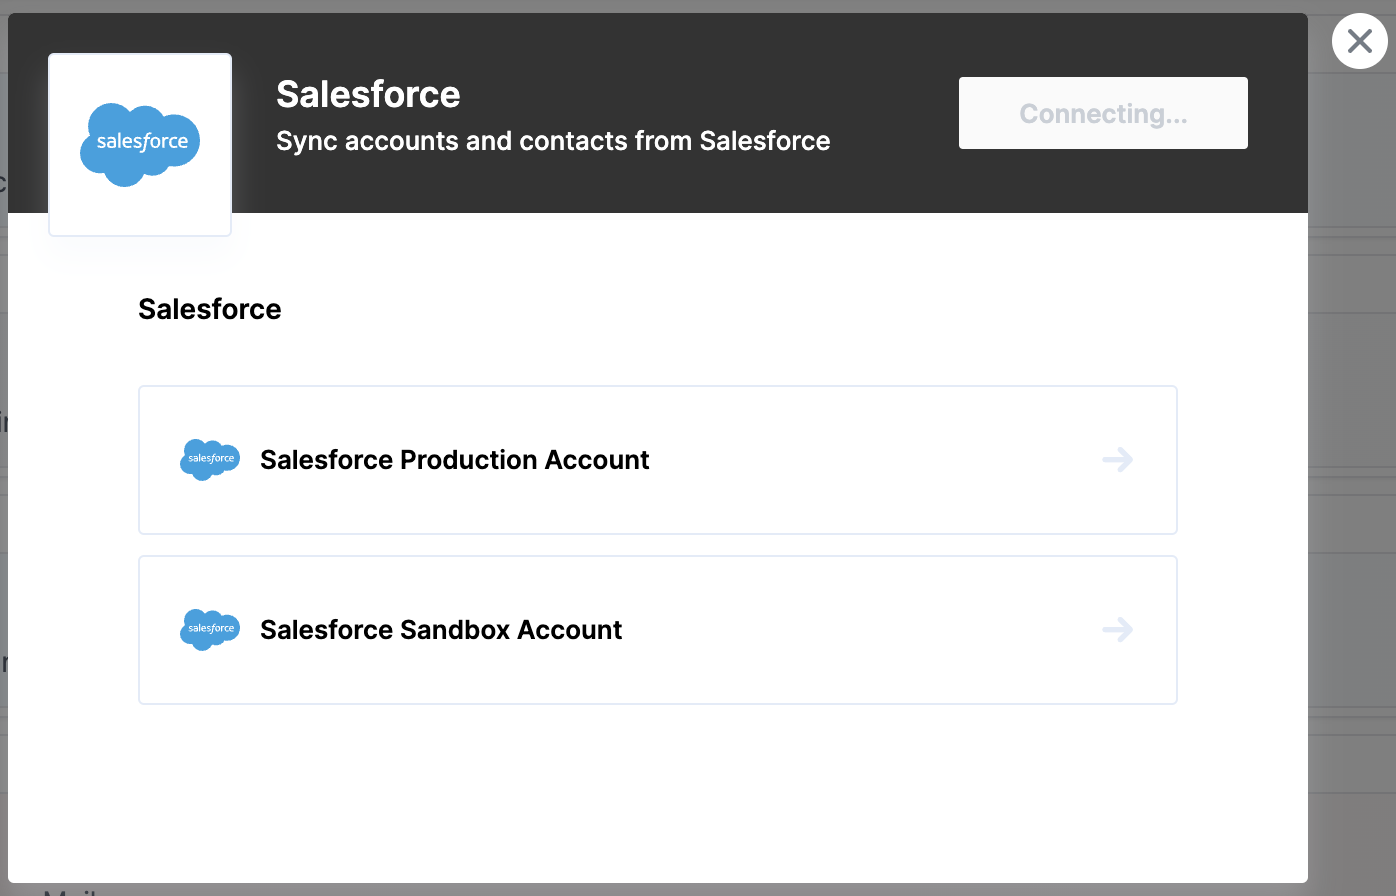
Once you click the Connect button, to be able to add your Salesforce platform, you should select “Salesforce Production Account”. In there, introduce the credentials that lead to the Salesforce platform that you want to sync with Solvimon Desk.
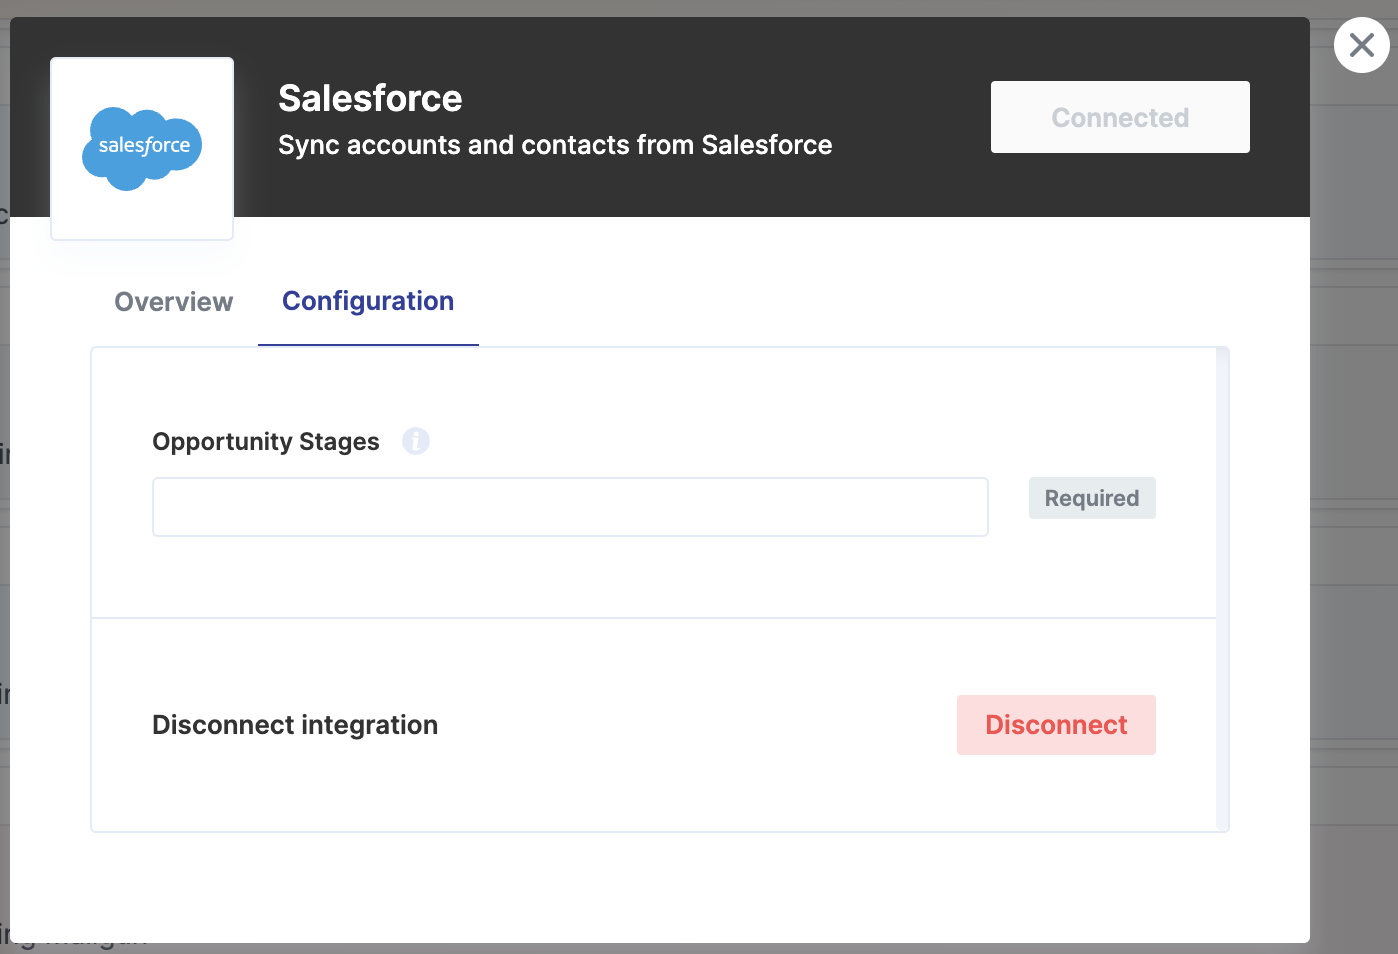
The Configuration panel will be available after the Salesforce integration is enabled. To make the sync work smoothly, it is mandatory to add the “Opportunity Stages”. This refers to which opportunity stages are important for you to consider in the synchronization. Since Salesforce offers a wide range of stages, maybe you are interested in only syncing the companies and contacts which meet certain stage criteria. For this reason, we request that you type under “Opportunity Stages” which stages we have to consider.
Provide the different stages to be included separated with a comma and no blank space.
Example: Prospecting,Qualification,Needs Analysis,Value Proposition
Furthermore, the Configuration panel also allows you to disconnect the integration at any time if desired.
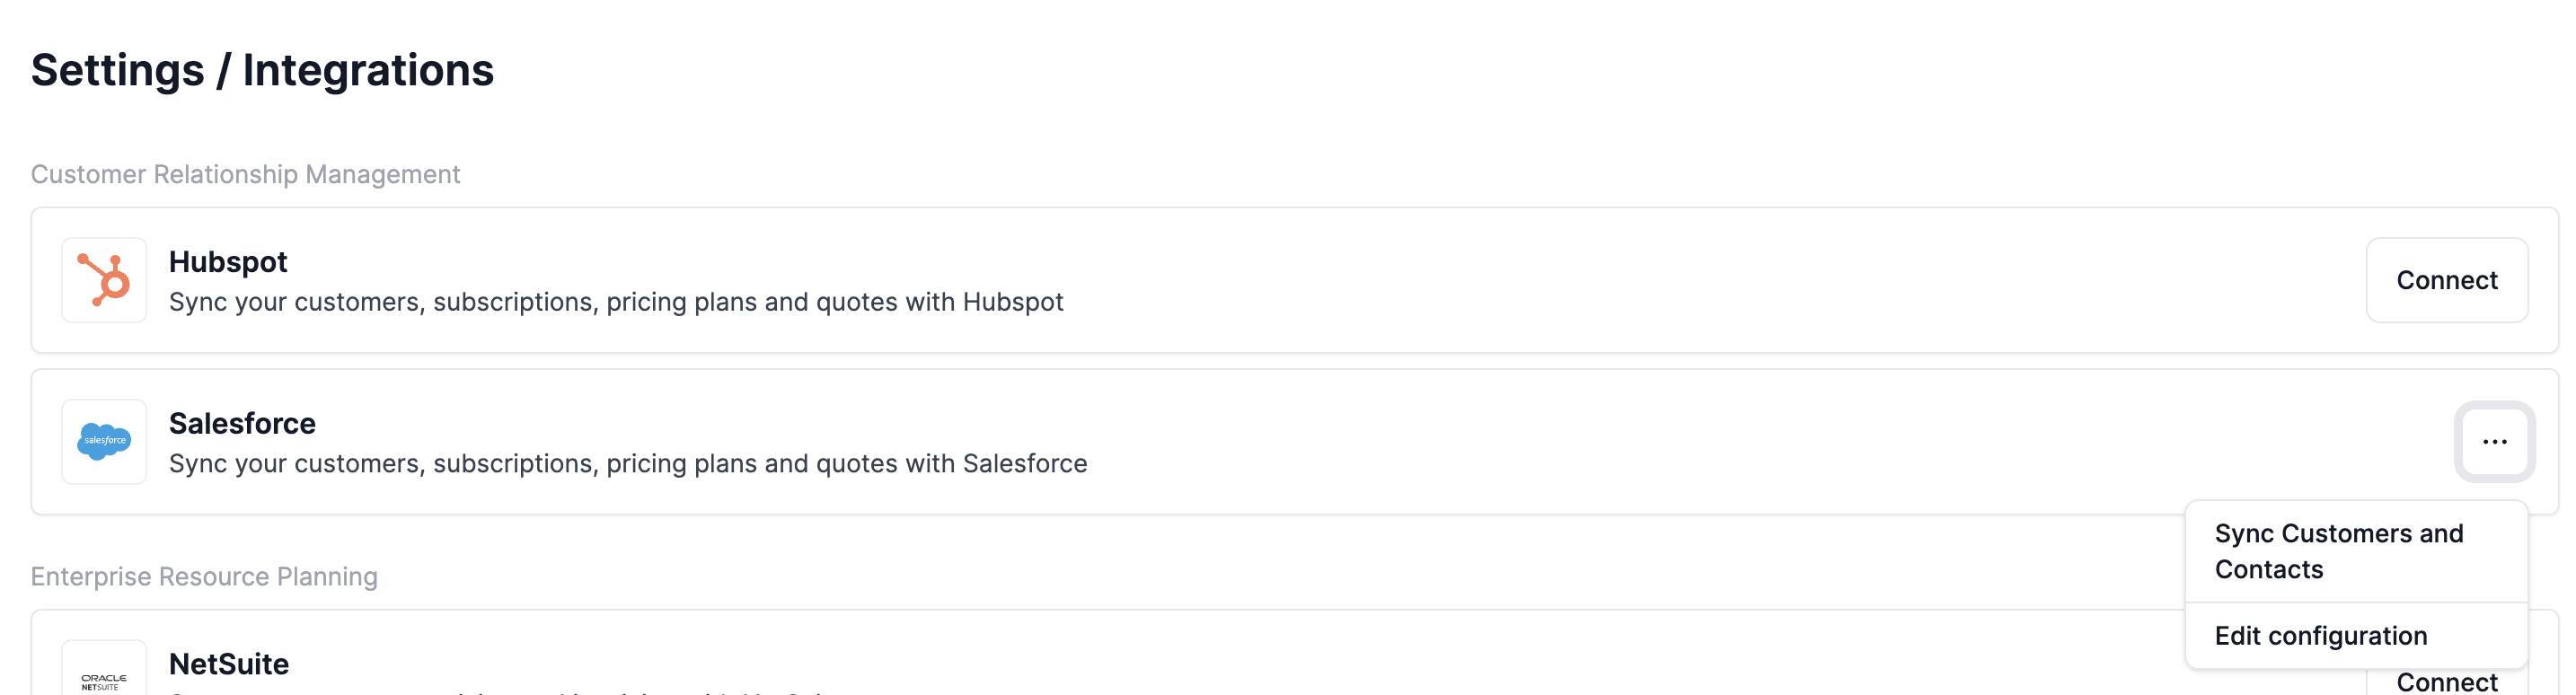
When you have connected your Salesforce integration you can manually sync your customers and contacts on the integrations page (Settings/Integration). To do this you will need to click on the three dotted menu in the Salesforce item, and then select “Sync Customers and Contacts. This will (in the background) start a manual synchronisation of the relevant customers and their contacts to Solvimon. Note that this might take up to 5 minutes to fully complete.
In the background creations and updates of relevant customers and contacts will happen automatically.
🎉 You’re now all set and have enabled synchronisation!
