
Meters
Usage meters are a users’ action within your product and consist of meter values and usage metrics, and meter properties.
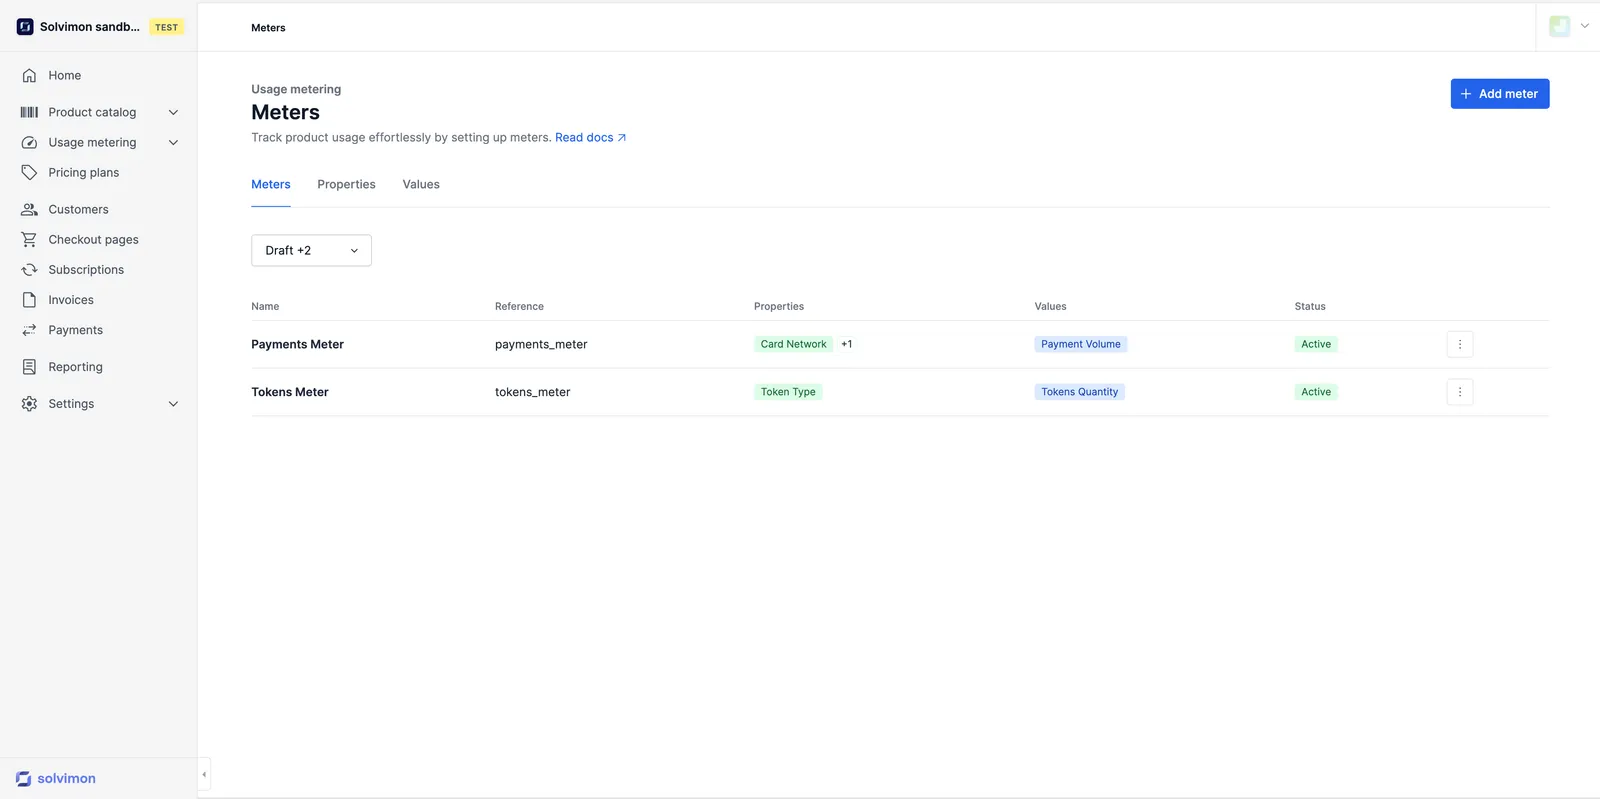
Setting up a Meter
To start ingesting events, you need an active meter. There are four ways to get one:
- Create it upfront: configure the meter, its values and its properties before sending any events. This is the default, described below.
- Create it inline from the product catalog: while setting up a usage-based revenue item in Desk, the guided billing metric setup can create the meter, its values and its calculation method on the spot, pre-filled from the product you were configuring.
- Create it dynamically: send events with
meter_validation=DYNAMICand let Solvimon create the meter, its values and its properties on the fly as part of ingestion. See Dynamic meter creation. - Import from Metronome: pull your existing Metronome Billable Metrics in as meters, including values, calculations and properties derived from group keys. See the Metronome integration.
The APIs can handle high volumes of traffic and allow you to either ingest individual events in real-time or push predefined aggregated events. The option to send real-time events enables you and your customers to have up-to-date visibility into revenues throughout the billing period.
Creating a meter upfront
A Meter that is connected to a product consists of at least one meter value that, together with a calculation method, becomes a usage metric. Optionally, it also consists of one or more meter properties.
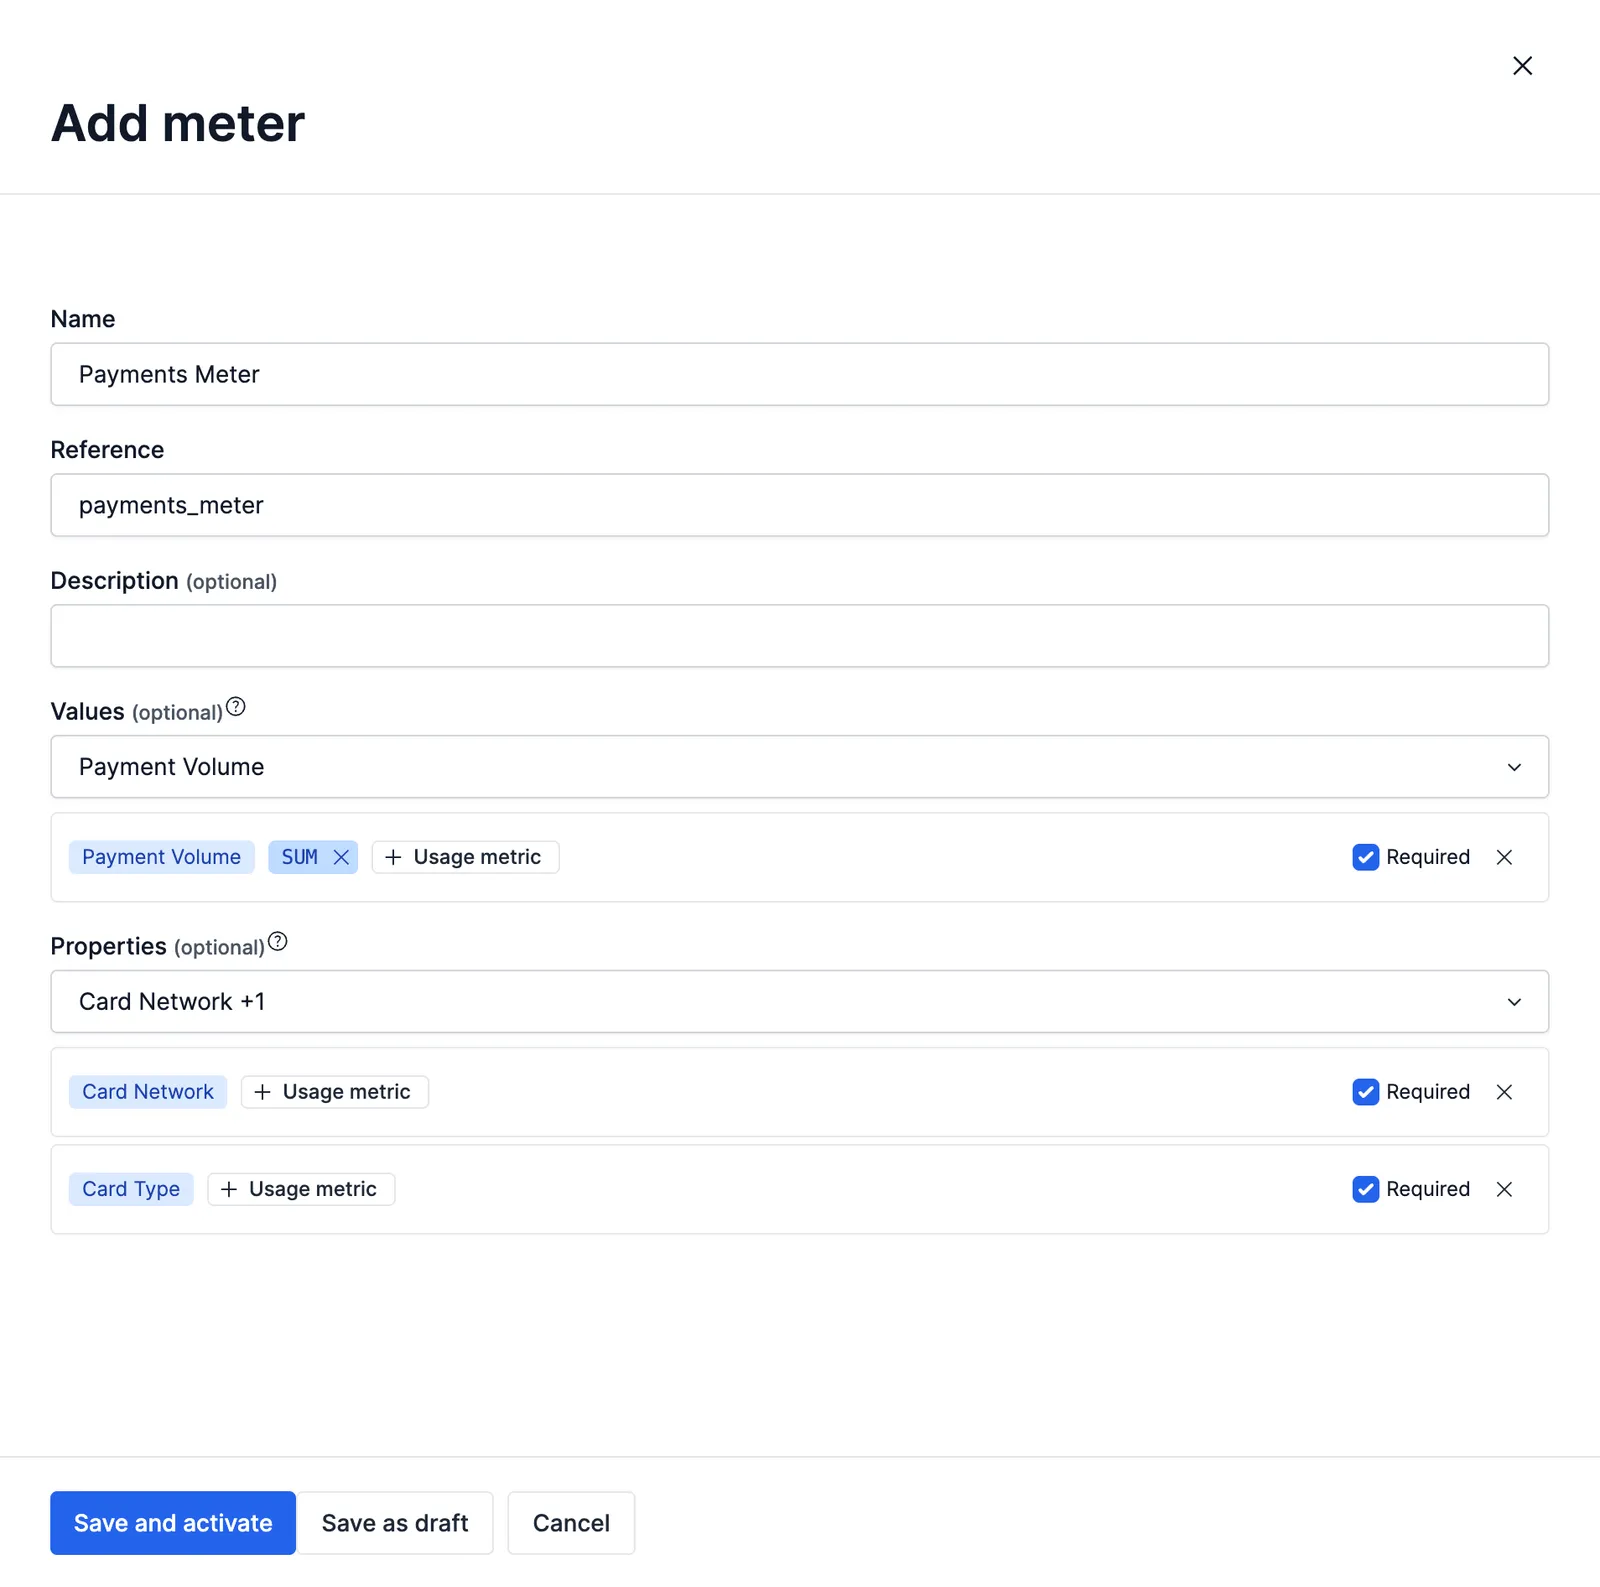
When you configure a meter, you need to fill in the following information as shown in the form below
- Name
- Reference
- Meter value
- Meter properties
Meters can consist of multiple meter properties and multiple meter values, but can also be configured with one of each only.
Required or optional
When adding a meter value and meter property, you need to specify if they are required, as shown in the screenshot above. Once you select the Required checkbox, you must add the usage metric information, which has been defined in the meter values and meter properties
Making a metric value and/or property required or not required determines the information you need to send for that meter in the events. If it’s not required, the event data for that meter can be ingested without those values or properties. Conversely, if it is required and missing, it may cause an error in event ingestion.
In order to use Properties when setting up different pricing conditions, the property must be configured as required